Creating templates for different types of emails you send frequently can save you the hassle of typing out repetitive emails and allow you to focus on other tasks.
Since Mac Mail doesn’t have a built-in email templates library, you may be wondering if it’s possible to create and use email templates as an Apple Mail user. The good news is that it is!
In this article, we’ll guide you through the process of creating, using, and optimizing email templates in Apple Mail.
Why Create Email Templates in Apple Mail?
Email templates in Apple Mail are simply reusable messages you can refer back to whenever you need to write a similar email. In other words, Mac Mail templates are pre-designed email formats that you can use to send emails quickly without having to format them or think about what to write every time.
💡These templates can include predefined text, images, formatting, and layouts that suit different types of emails, such as out-of-office messages, milestone completion announcements, or asking for a meeting to be pushed to a later date.
Using email templates in Apple Mail has many benefits. For instance, they can help you streamline your communication process, ensure consistency and professionalism, and save you a significant amount of time and effort.
Here are some reasons why you may want to create Apple Mail templates:
- Templates save you time. Instead of starting your email from scratch each time, you just tweak the template and reduce the overall time you spend composing emails.
- Templates help you maintain a consistent tone in your emails. This is especially important in professional settings or for branding purposes.
- Templates keep your emails accurate. They reduce the likelihood of leaving out crucial information or making mistakes since the main components of your message are already in place.
- Templates reduce the stress related to email creation. Knowing that you have a reliable structure for your emails can lessen the anxiety of writing and ensure you’re not missing out on any key points.
- Templates keep your communication professional. Using well-designed templates can improve the professionalism of your emails, leaving a better impression on the recipients.
How to Create Reusable Mac Mail Templates
You may be asking yourself whether Apple Mail offers pre-designed templates you can refer to. The answer is no - there are no email templates in Mac Mail. But the lack of this feature doesn’t have to stop you from enjoying the benefits of email templates!
The good news is that you can create as many email templates in Apple Mail as you want and need. We’ll show you how to do it from scratch.
Now, before we jump into the step-by-step process of how to create Mac Mail templates, you need to know that there are two ways to do that:
- Method 1: Using Apple Mail’s native stationery feature (for macOS older versions before Mojave).
- Method 2: Drafting your messages and saving them in a dedicated folder (for newer macOS versions after and including Mojave)
That’s because Apple Mail removed the stationery feature that allowed users to save email templates in macOS Mojave and newer versions, including Sonoma (v14), Ventura (v13), Monterey (v12), Big Sur (v11), Catalina (v10.15), and earlier versions of macOS v10).
Let’s dive into the step-by-step process for each of the two methods.
Method 1: With the Stationery Feature
💡Use this method if you work on any macOS version earlier than Mojave.
- Step 1: Start by opening the Apple Mail application on your Mac and composing a new email by clicking on “New Message.”
- Step 2: Design your email as you want it to appear as a template. This can include text, images, formatting, and attachments. Everything you include in this email will be part of the template, so format it exactly how you'd like your future emails to look.
- Step 3: Once you’re satisfied with the design of your email, click on “File” in the menu bar, then select “Save as Stationery…” This option turns your current email into a template.
- Step 4: A dialog box will appear, asking you to name your new template. Choose a name that clearly identifies the template's purpose, then click “Save.”
- Step 5: To use your newly created template, start composing a new email. Then, go to the menu bar, select “Format,” and choose “Show Stationery.” Look for your template under the “Custom” category. Click on it to start a new email based on your template.
- Step 6: Modify the template for the specific message you are sending. You can change text, add personal greetings, or update information without altering the original template design.
- Step 7: Once you have customized your template for the current message, go ahead and send your email as you normally would.
Method 2: Without the Stationery Feature
💡Use this method if you work on any macOS version later than (and including) Mojave.
- Step 1: Start by opening the Apple Mail application on your Mac and composing a new email by clicking on “New Message.”
- Step 2: Design your email as you want it to appear as a template. This can include text, images, formatting, and attachments. Everything you include in this email will be part of the template, so format it exactly how you'd like your future emails to look.
- Step 3: Once you’re satisfied with the design of your email, save the email as a draft. To do that, go to “File” and then click “Save.” This will save your email in the Drafts folder.
- Step 4: Create a new email folder in your iCloud inbox by clicking on “New Mailbox.” This is where you’ll keep your templates. You can call it “Templates.”
- Step 5: Move your draft message to your newly created Templates folder. To do that, right-click on the draft, then select “Move to” and pick your Templates folder.
- Step 6: To use a template, open the Templates folder and right-click the one you want. Choose "Send again" to edit and send it. The original template will stay in the folder for future use.
That’s it! You’ve now created and used an email template in Apple Mail.
Tips & Tricks to Use Mac Mail Templates
While creating and using Mac Mail templates is pretty straightforward, there are some things you can do to make this process even quicker and easier. Here are some tips and tricks to use Apple Mail templates efficiently.
Keep Your Templates in the Drafts Folder
You can create a dedicated folder and keep it as your template repository. Simply create an email template, save it as a draft, and move it to the Templates folder. Whenever you need to send a similar email, go to the Templates folder, copy the content, and you're good to go.
Use AppleScript for Automation
For those who are comfortable with scripting, AppleScript can be a powerful tool for automating the template selection process based on certain conditions, such as the recipient's email or the subject line.
Leverage Text Replacement
MacOS has a built-in text replacement feature that you can use to your advantage. Create shortcuts for phrases or sentences you frequently use in your emails. For example, typing "addr" could automatically populate your complete address.
Organize Templates With Tags
If you have multiple templates for different purposes, consider using tags to organize them. This makes it easier to locate the right template quickly.
3 Best Tools to Extend Apple Mail’s Features
Although Apple Mail doesn't have a built-in email templates library, there are some tools you can use to create and manage your own templates. These tools offer more than templates - they're an extension of Mac Mail’s features and can help you improve your experience with Apple Mail.
Here are the top 3 best tools to extend Apple Mail's features.
1. Canary Mail - Best for Email Template Management
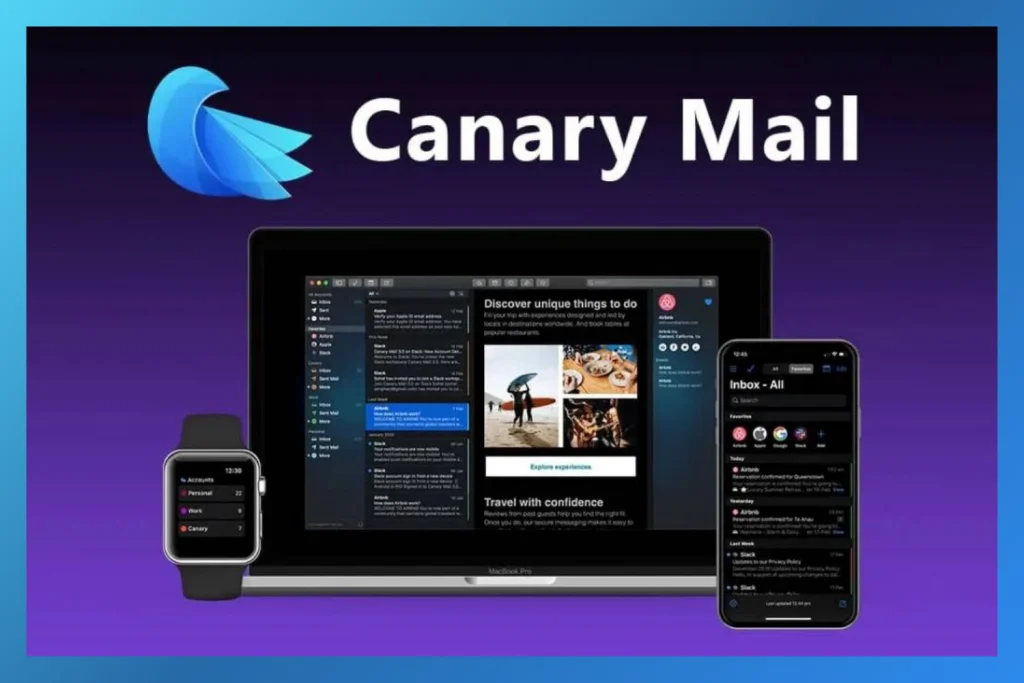
Canary Mail is the most advanced email client on the market. It focuses on email productivity and management with modern features, such as an AI-powered email assistant that helps users write better emails in less time, read receipts, email tracking, and advanced template management.
With Canary Mail, you can create complex email templates with variables, making it a great choice for those who need more than what Apple Mail offers natively.
💰Pricing: Canary Mail offers a free forever plan for personal use. Our paid plans start at $49 per year.
2. Mailbutler - Best for Email Tracking

Mailbutler is an email extension that adds more handy features to Apple Mail, Gmail, and Outlook. Aside from email tracking, it offers features like email signatures, email templates, send later, email snooze, and more.
💰Pricing: Mailbutler offers a free 14-day trial. After that, you’ll need to purchase one of its subscription plans, which start at $4.95 per month (billed annually).
3. Folderly - Best for Email Deliverability
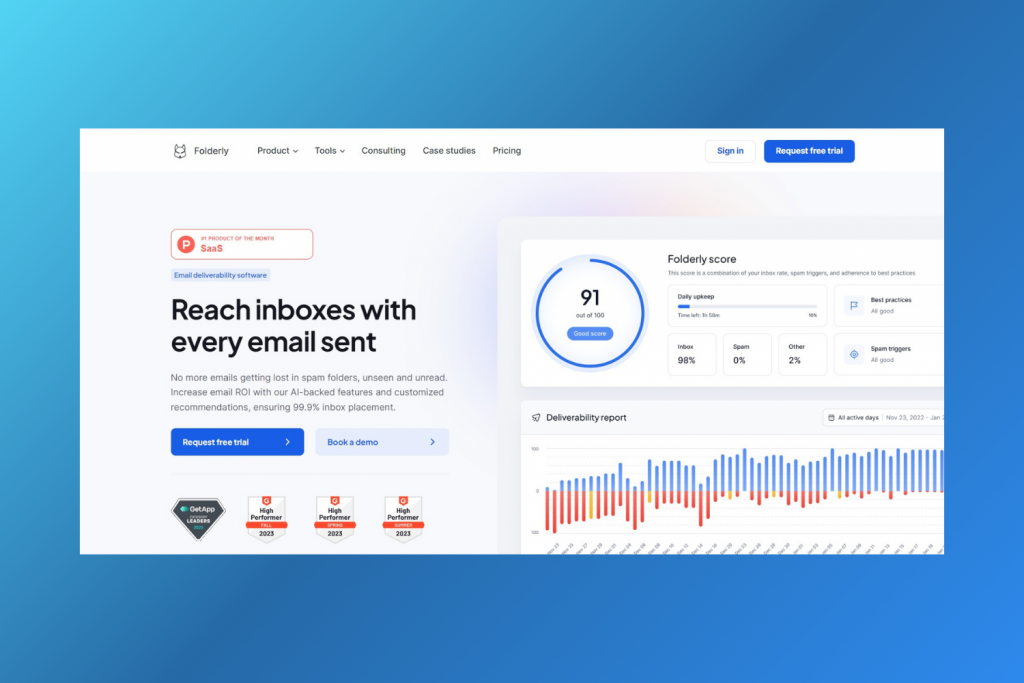
Folderly is an AI-driven email deliverability platform that ensures your emails get delivered to their intended recipient’s inbox by addressing spam-related issues. It runs regular spam tests and offers personalized recommendations for improving email deliverability.
Aside from helping its users increase their deliverability rates, Folderly also aims to help them improve their open and reply rates with smart suggestions and best email marketing practices, like a built-in email template dashboard.
💰Pricing: Folderly offers a free 7-day trial. After that, you’ll need to purchase a monthly or yearly subscription. Folderly’s paid plans start at $120 per mailbox per month.
Apple Mail Templates, the Bottom Line
Email templates in Mac Mail are an underutilized feature that can significantly enhance your email productivity. From drafting email templates from scratch in Apple Mail to using advanced third-party solutions like Canary Mail or Mailbutler, creating Mac Mail templates can help you save time, maintain consistency, and improve communication efficiency.
By leveraging templates, you can quickly respond to common queries, ensure your emails maintain a professional standard, and personalize messages without starting from zero each time.
Whether you're managing personal emails or handling multiple business correspondences, integrating templates into your Apple Mail workflow can streamline your process and make your email management more effective and less time-consuming.
Mac Mail Templates, the FAQs
❓What are Apple Mail templates?
Apple Mail templates are pre-designed email formats that you can use repeatedly, saving time and maintaining consistency. They include preset text, images, and layouts suitable for various types of communications.
❓Does Apple Mail have built-in email templates?
No, Apple Mail does not have built-in email templates. However, users can create their own templates by saving frequently used email formats in the Drafts folder for future use.
❓How can I create email templates in Apple Mail?
To create email templates in Apple Mail, compose a new email with your desired content and format, then save it as a draft. Use this draft as a template by duplicating and editing it for future emails.