Canary Mail offers a handy email template feature for Windows Devices. With this feature, you can easily create your own templates for various types of emails, such as reports, pitches, guides, and updates. Here's a step-by-step guide to creating an email template in Canary:
Steps To Create a Template
1. Open Canary.
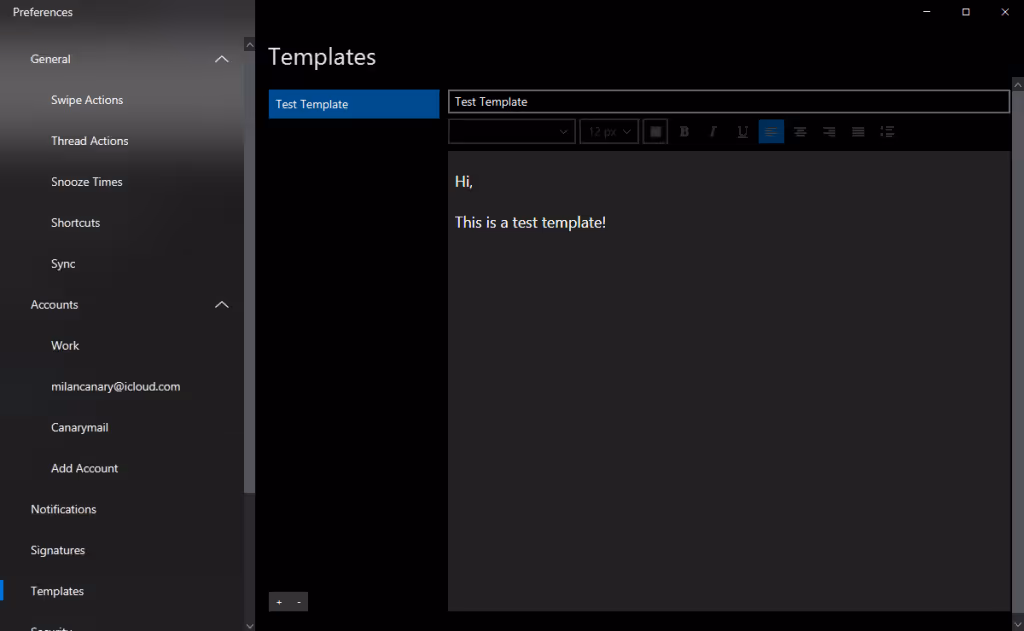
2. Navigate to Preferences in the sidebar and select Templates.
3. To create a new template, enter the Template Title and template Text. If you want to add another template, click on the + icon located at the bottom left.
4. In the Template Title field, write the name of your template. This name will be displayed only in Canary.
5. Next, fill out the Subject field and compose the template text.
6. Once you've completed the template, it will be automatically saved for future use.
Sending a Template
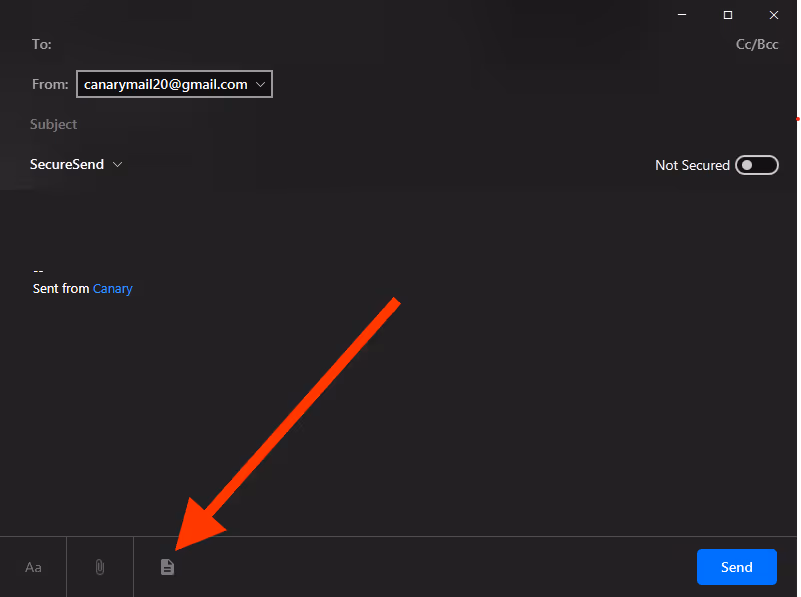
1. Open Canary and click on the Compose icon.
2. Click on the Template icon located at the bottom left corner, after the Attachment icon, and select the desired template from the list.
3. Add the recipient's email address in the To: field.
4. Fill in the Subject field.
5. If necessary, make any changes to the email body.
6. Once you're satisfied with the email, click the Send button to send it to the recipient.
7. By utilizing email templates in Canary Mail for Windows, you can easily streamline your communication process and save time on repetitive emails.
Editing or Deleting a Template
1. Open Canary.
2. Select Preferences > Templates from the sidebar.
3. Here, you can see the list of templates you have created. Click on the template to view or modify it. Once you’ve modified it, the template will be auto-saved.
4. To remove a template, select the template you want to remove and click on the - icon at the bottom left. Please note: You can’t undo this action.
For further information about Email Templates:
https://canarymail.io/blog/email-templates/