Canary Mail offers a helpful feature that allows you to save time when composing repetitive emails – email templates. You can create customized templates for various types of emails, such as reports, pitches, guides, updates, and more.
Create Templates
- Click Canary Mail at the top left of your screen.
- Select Settings > Templates.
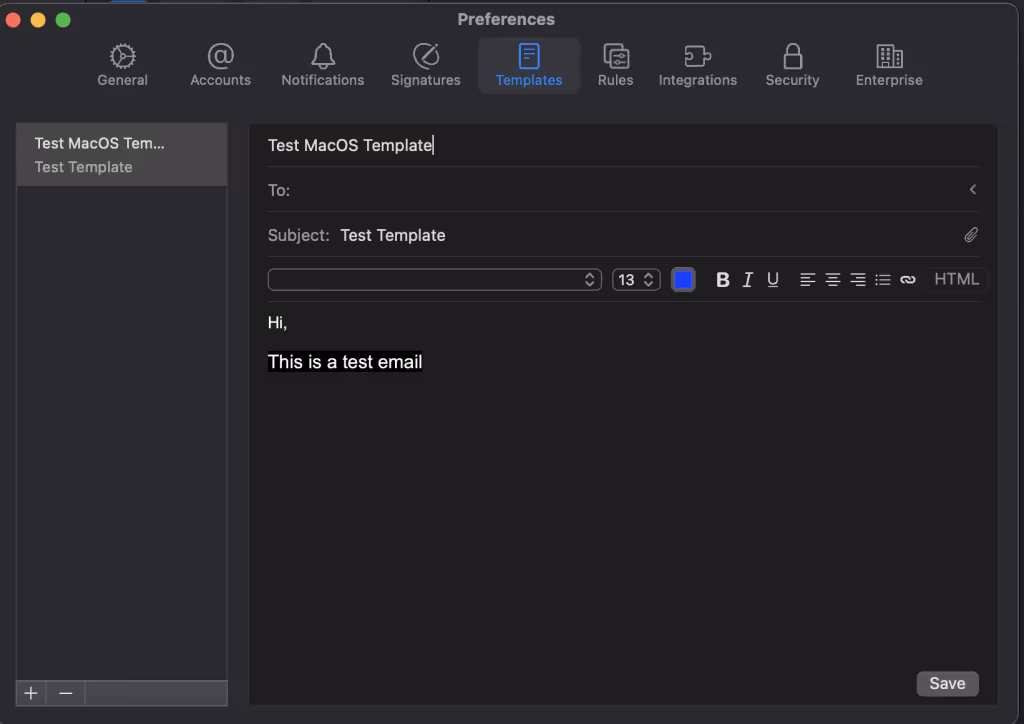
- To create a template, enter the Template Title, Subject, and Template Text.
- In the Template Title field, write the name of your template. This name displays only in Canary.
- Fill in the Subject field and write the template text.
- If you already have templates, add a new one by clicking the + icon at the bottom left.
- Click Save at the bottom right.
Send Emails Using Templates
- Launch Canary Mail and click the Compose icon to start a new email.
- Click the Template icon at the top right between the AI and attachment icon and choose a template from the list.
- Add the recipient’s email address in the To: field.
- Make any necessary changes to the email body.
- When you’re finished, click Send.

Edit or Delete Templates
- Launch Canary Mail and click the menu icon at the top left corner of the screen.
- Select Settings > Templates.
- To edit a template, just click on the one you want to change, make your updates, and then click the "Save" button in the bottom right corner.
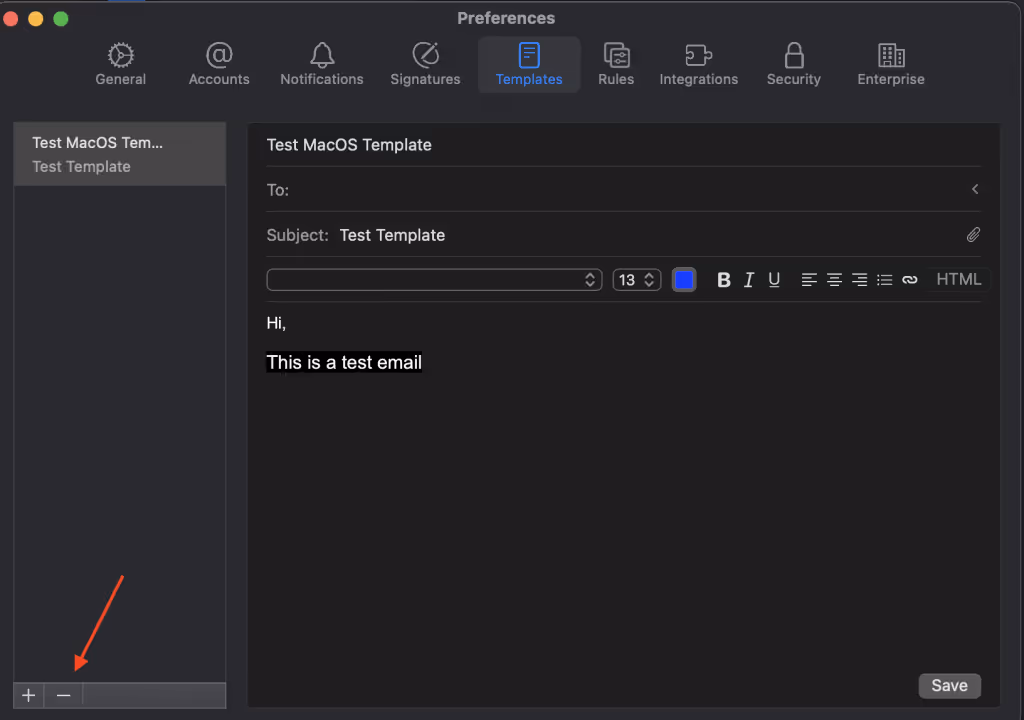
- To delete a template, simply select the one you want to remove and click the "-" icon in the bottom left corner. Then confirm it by clicking the "Delete" button.
Note: This action cannot be undone, so be sure you want to delete the template before proceeding.
By following these steps, you can easily manage your email templates in Canary Mail and keep them organized.