- Compose a New Email:
- Write your email as usual.
- Set the Schedule:
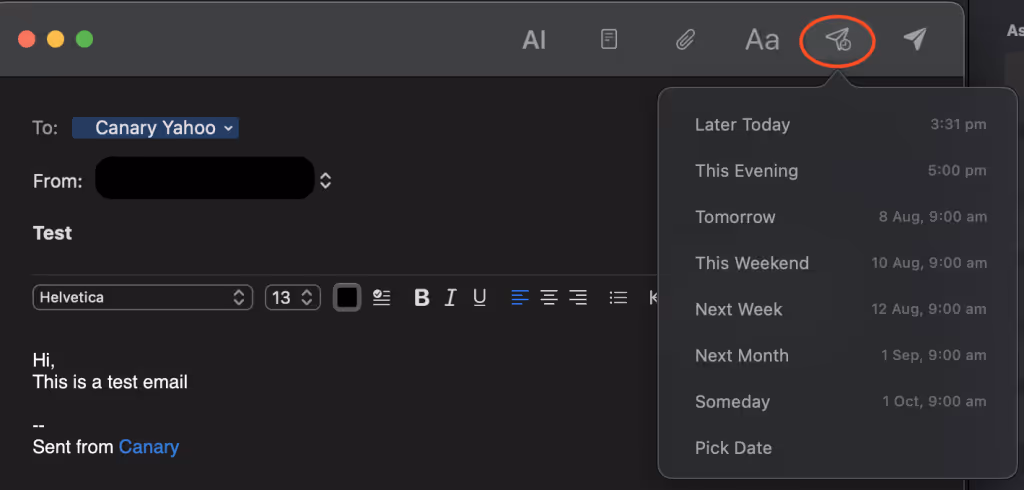
- Click the “Send Later” arrow

- button at the top right corner of the mail window.
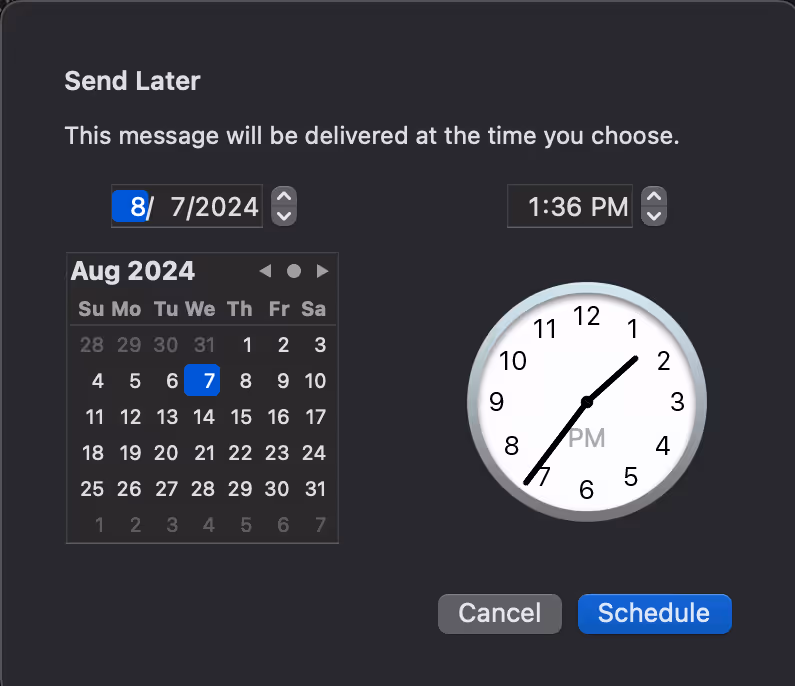
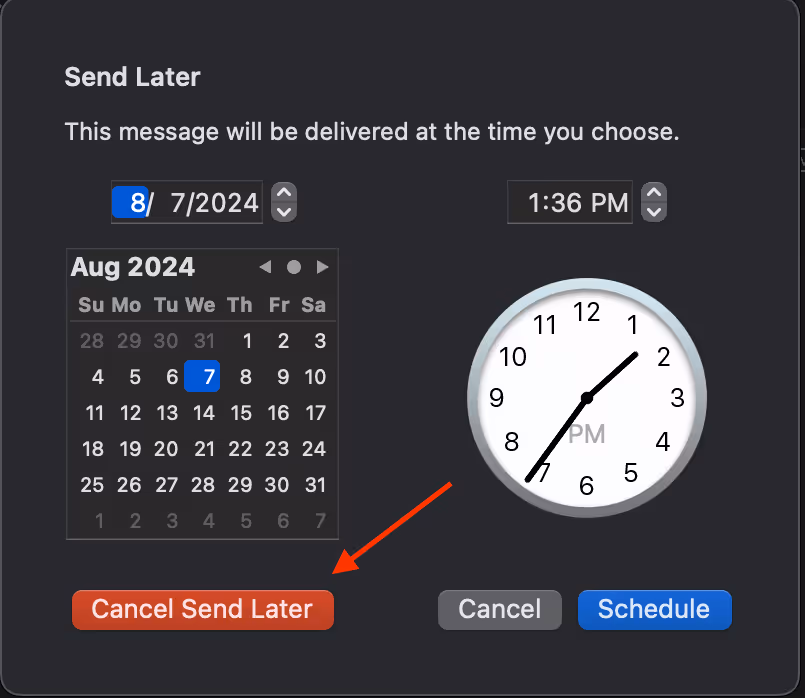
- Choose a predefined time or click “Pick Date” to set a custom date and time.
- Click “Schedule” to confirm.
- Finish Scheduling:
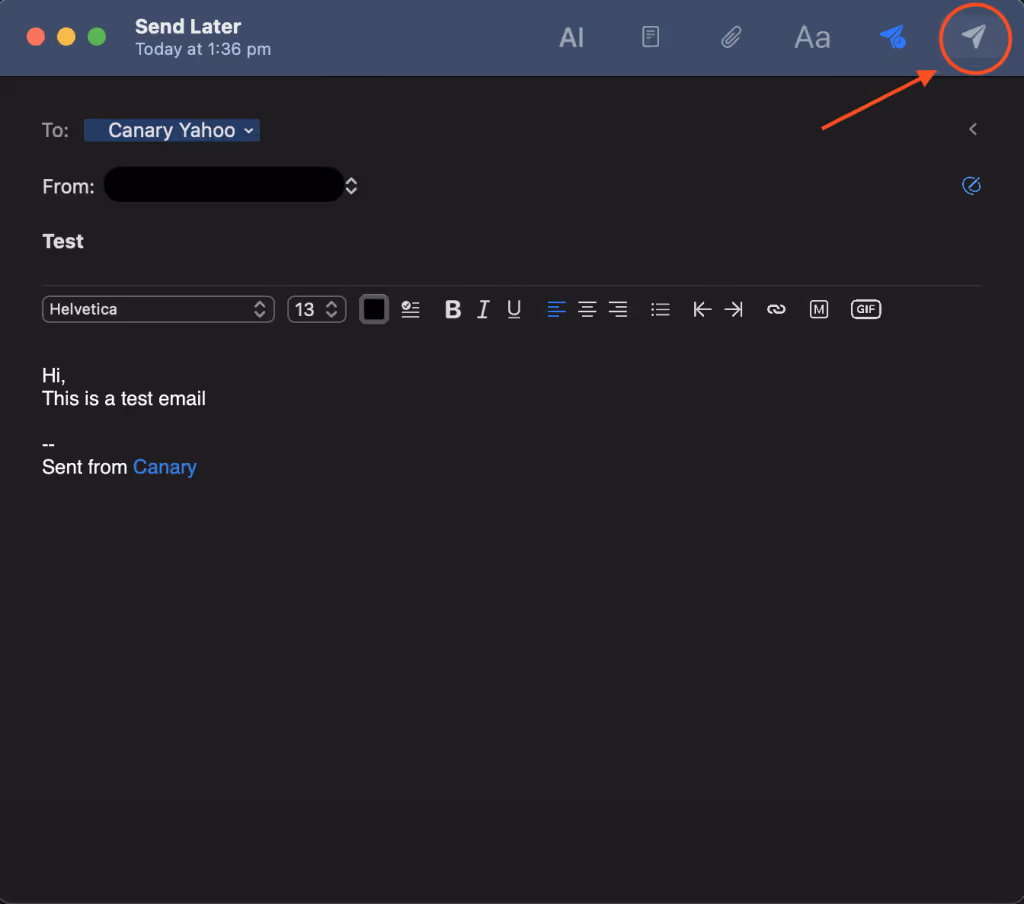
- The “Send Later” button will turn blue to show the email is scheduled.
- Click the “Send” button at the top right corner to finish.
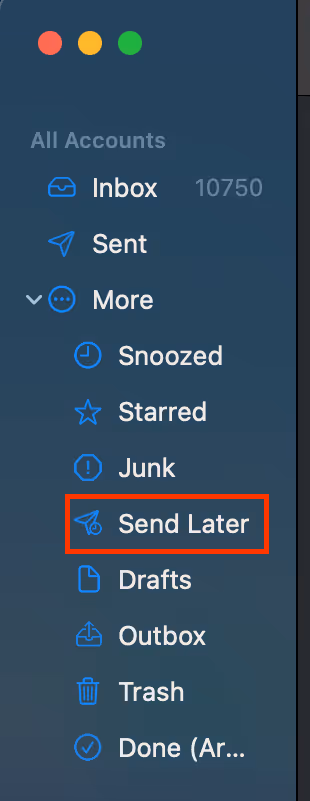
Your email will now appear in the “Send Later” folder and will be sent automatically at the specified date and time. After it’s sent, it will move to the “Sent” folder.
Editing or Canceling a Scheduled Email:
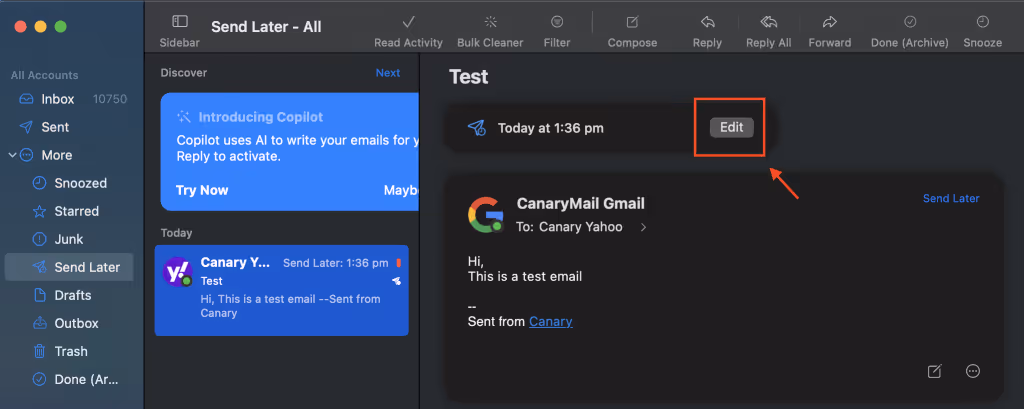
- Open the “Send Later” Folder:
- Find the email you want to edit or cancel.
- Edit the Email:
- To edit the content of the mail, click on it and then click the edit button at the top.
- Make your changes and click “Schedule” to save, or “Send” to reschedule.
- Cancel the Scheduled Email:
- Click “Cancel Schedule” at the bottom left. The email will move to the “Drafts” folder.
Tips and Tricks
- Once scheduled, your email will be sent even if your device is offline.
- Make sure to check time zones when scheduling for recipients in different parts of the globe.
- To cancel or reschedule, visit the “Send Later” folder and make your changes.
Send Later is a handy feature designed to make your email management easier and more flexible. Try it out and make your email communication smoother than ever before!