The Shared Inbox by Canary Web App allows users to access their shared inbox account and manage emails efficiently via the web. Follow this guide to set up and start using the web app.
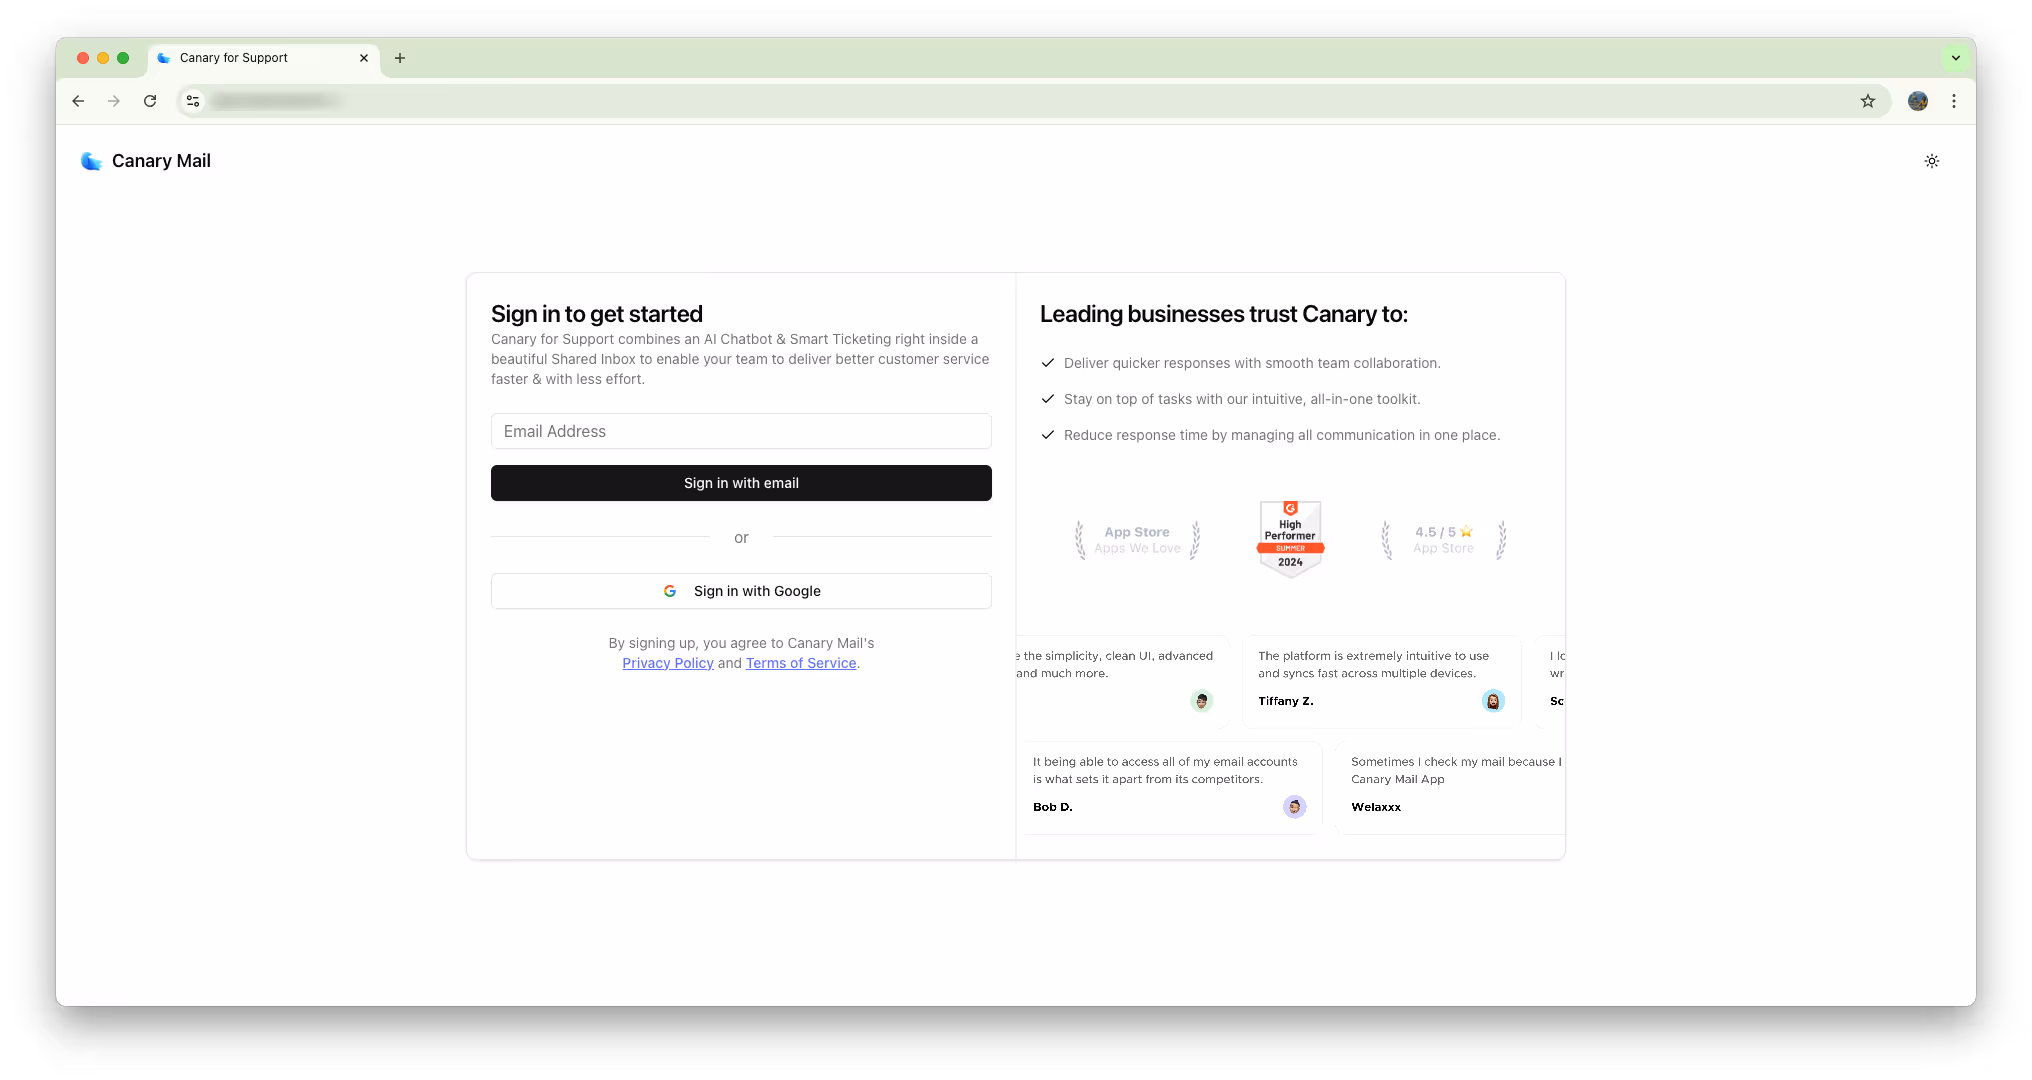
Step 1: Sign In
- After receiving access, open the web app and sign in with your account.
- If you use Gmail, select ‘Sign in with Gmail.’
- If using any other provider, enter your email, and you’ll receive an activation link in your inbox. Click the link to proceed.
Step 2: Enter Details & Continue
- Enter your details and select 'Continue'.

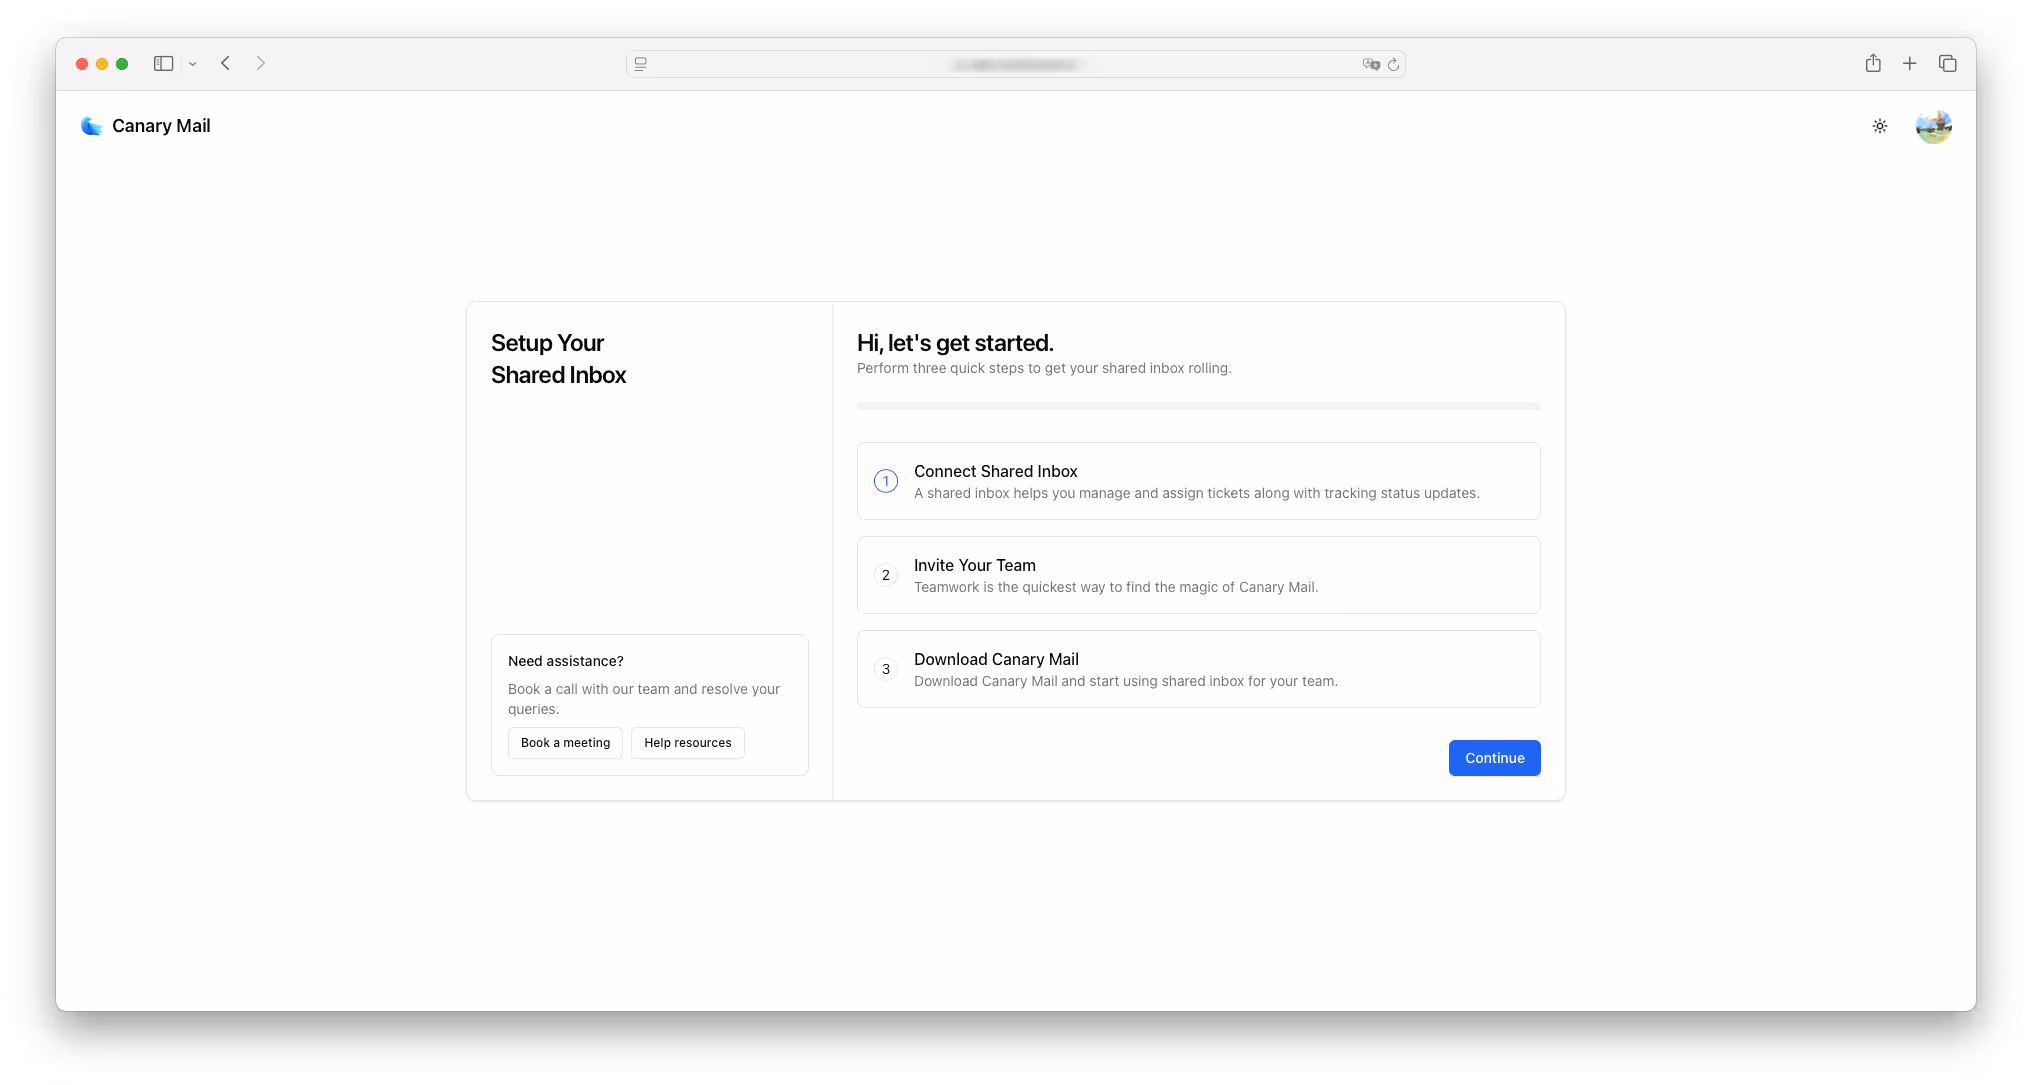
Step 3: Connect Your Shared Inbox
- Click 'Continue' to connect your shared inbox.
- If you encounter issues, use the ‘Book a meeting’ option to get assistance from our team.
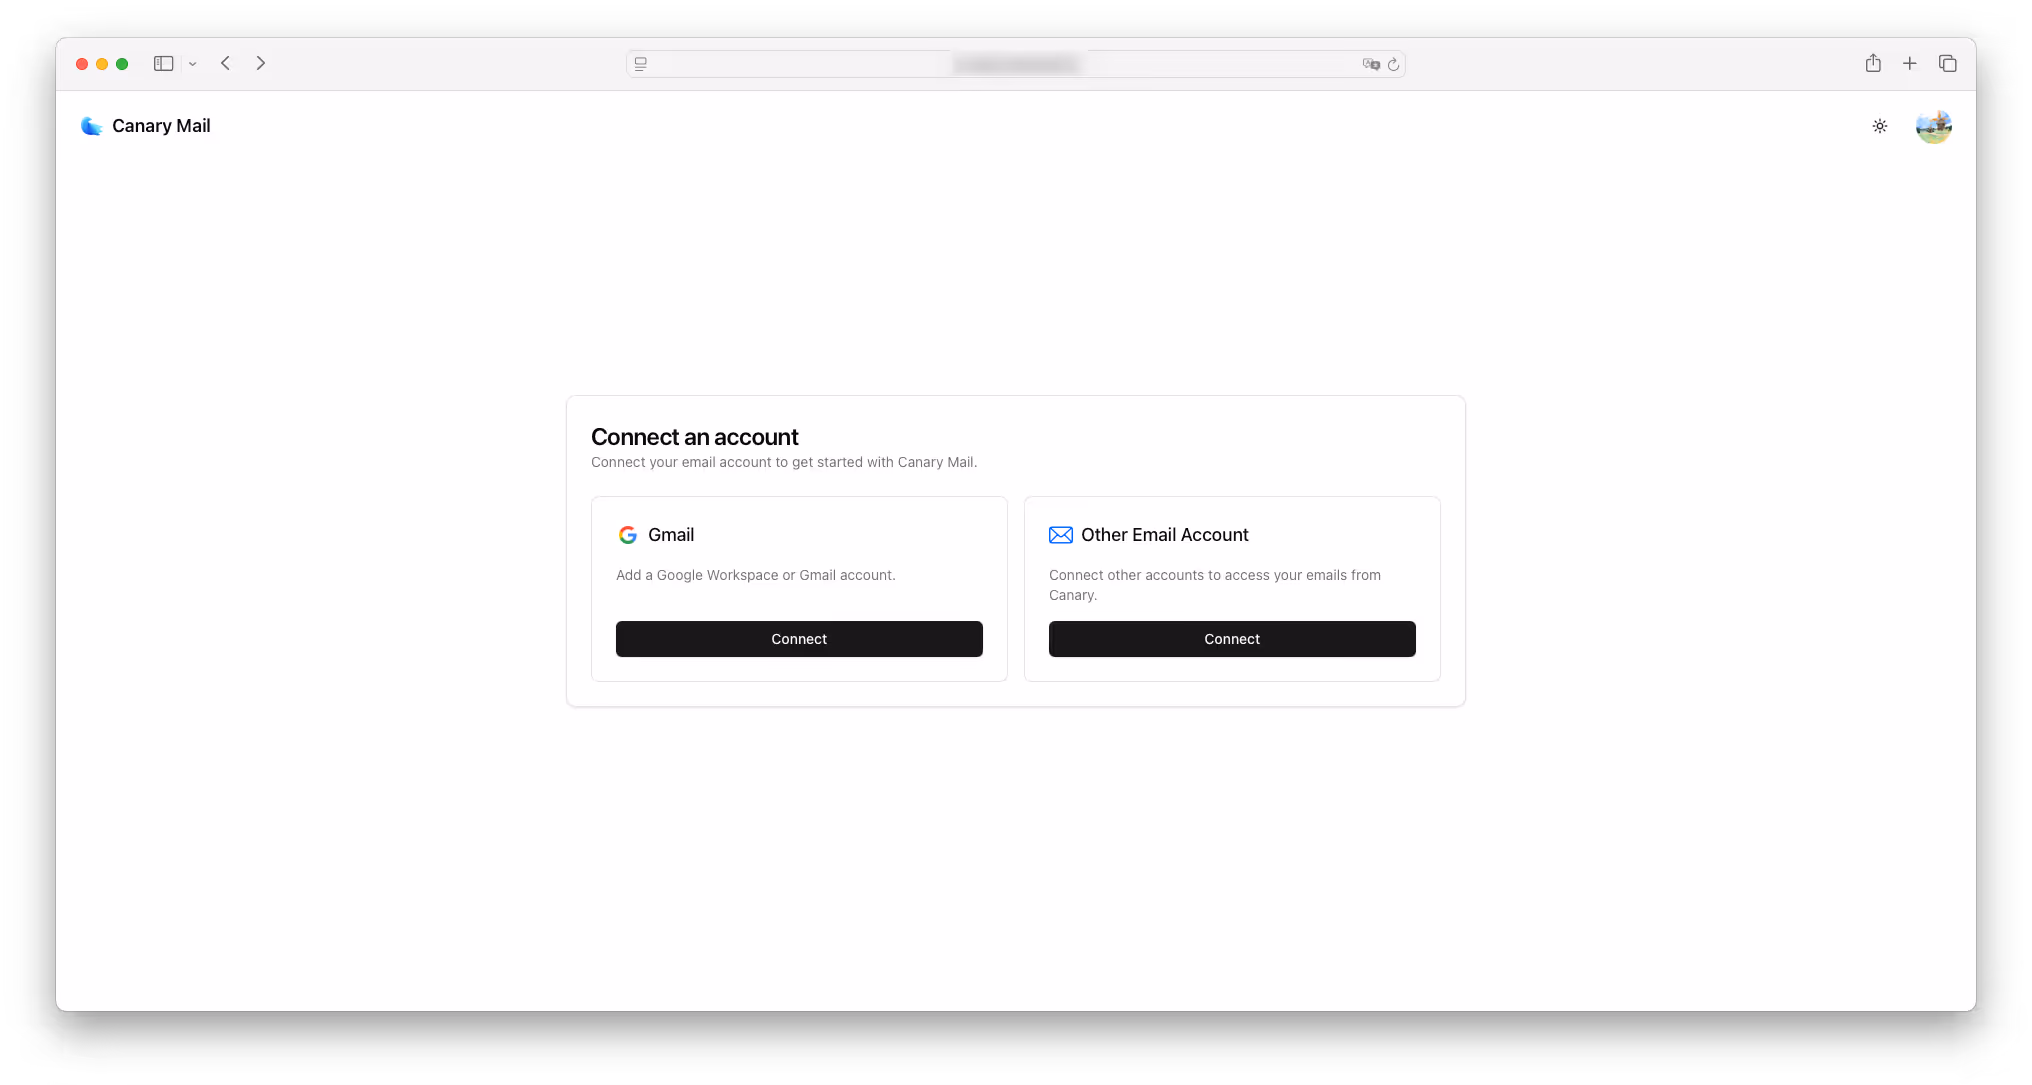
Step 4: Choose Your Email Provider
- If the account you want to connect is Gmail, select 'Gmail'.
- If not, choose 'Other email account'.
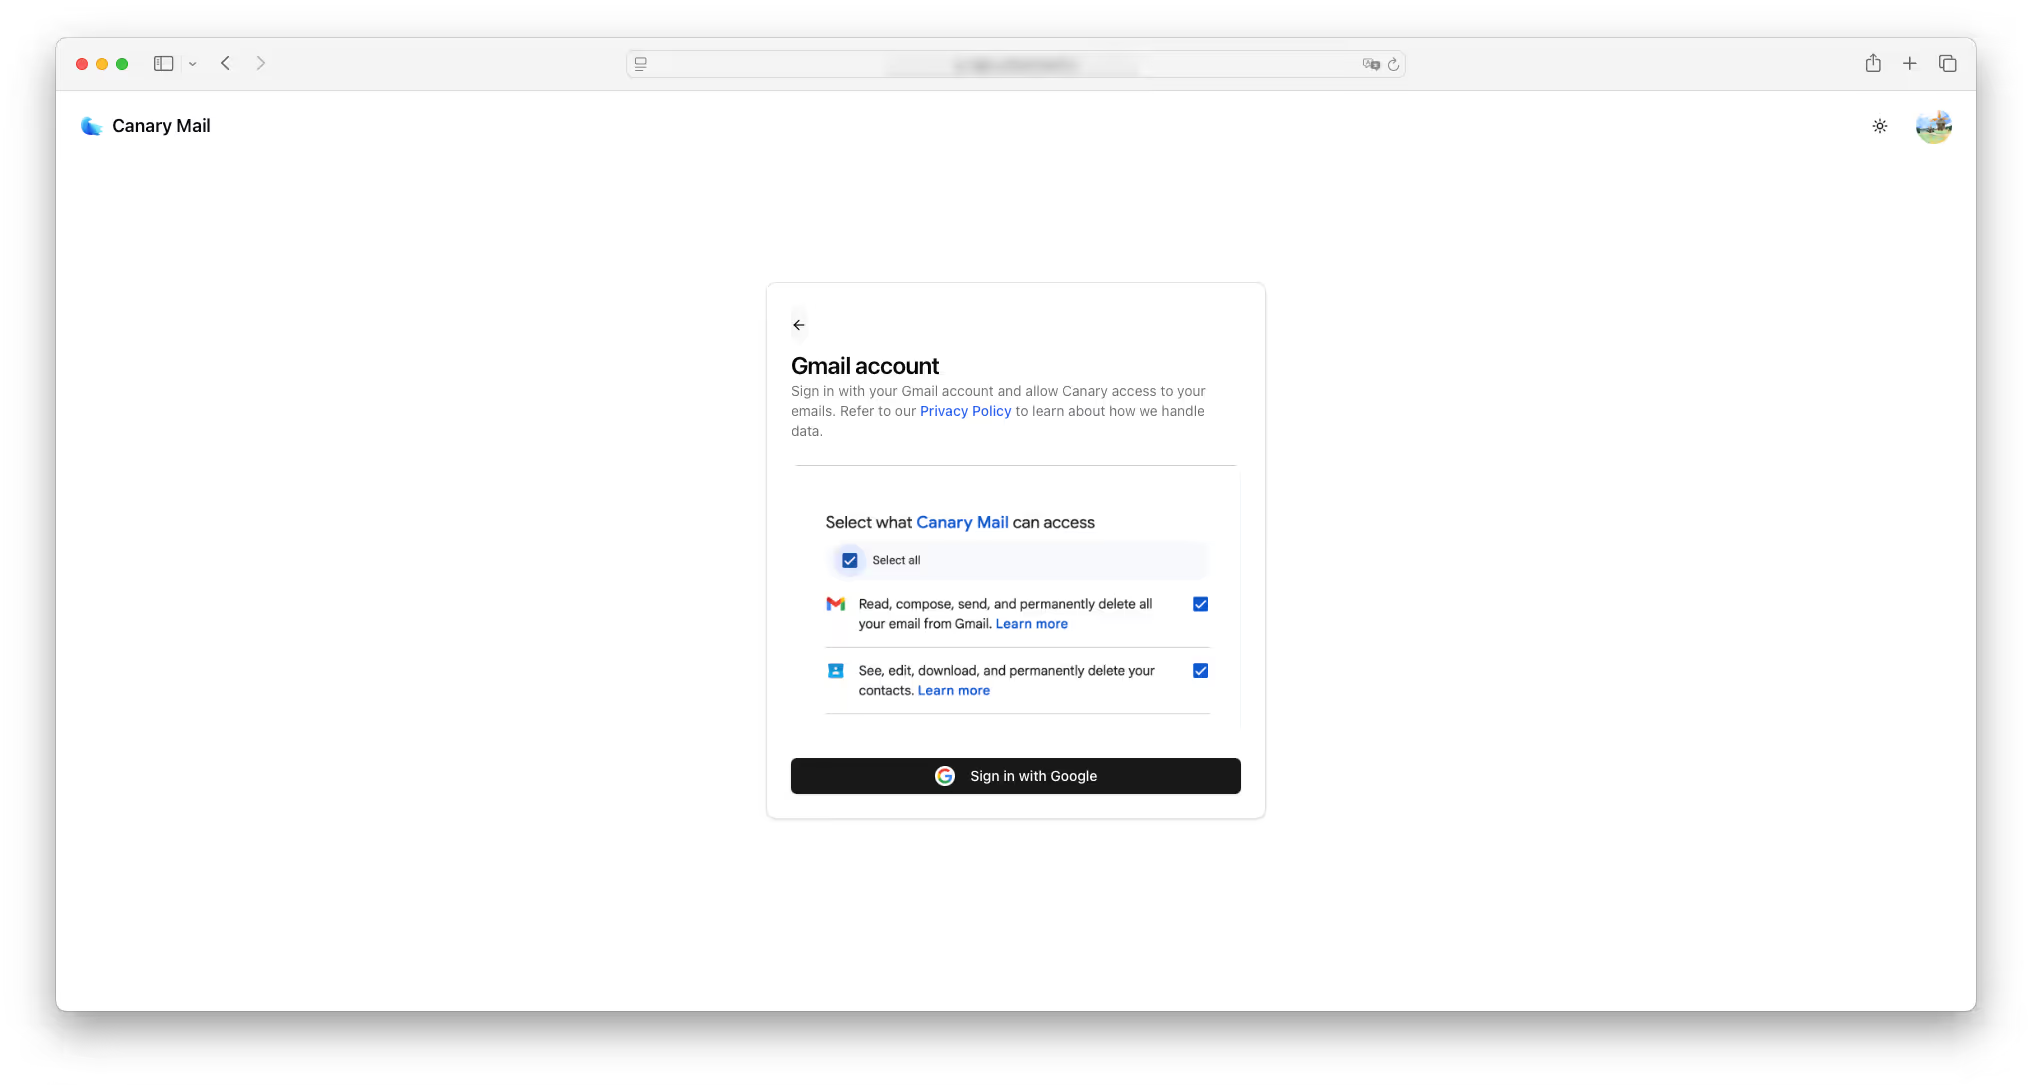
- If you selected Gmail, click 'Sign in with Gmail' and grant the necessary permissions.
- When prompted with ‘Select what Canary Mail can access’, choose ‘Select all’ and then click ‘Sign in with Google.’
Step 5: Finalize Shared Inbox Setup
- Edit the ‘Inbox Name’ (this will be visible to your team members).
- Select a color for your inbox (this color will appear in the Canary in-app mail list).
- Your shared inbox is now successfully connected!

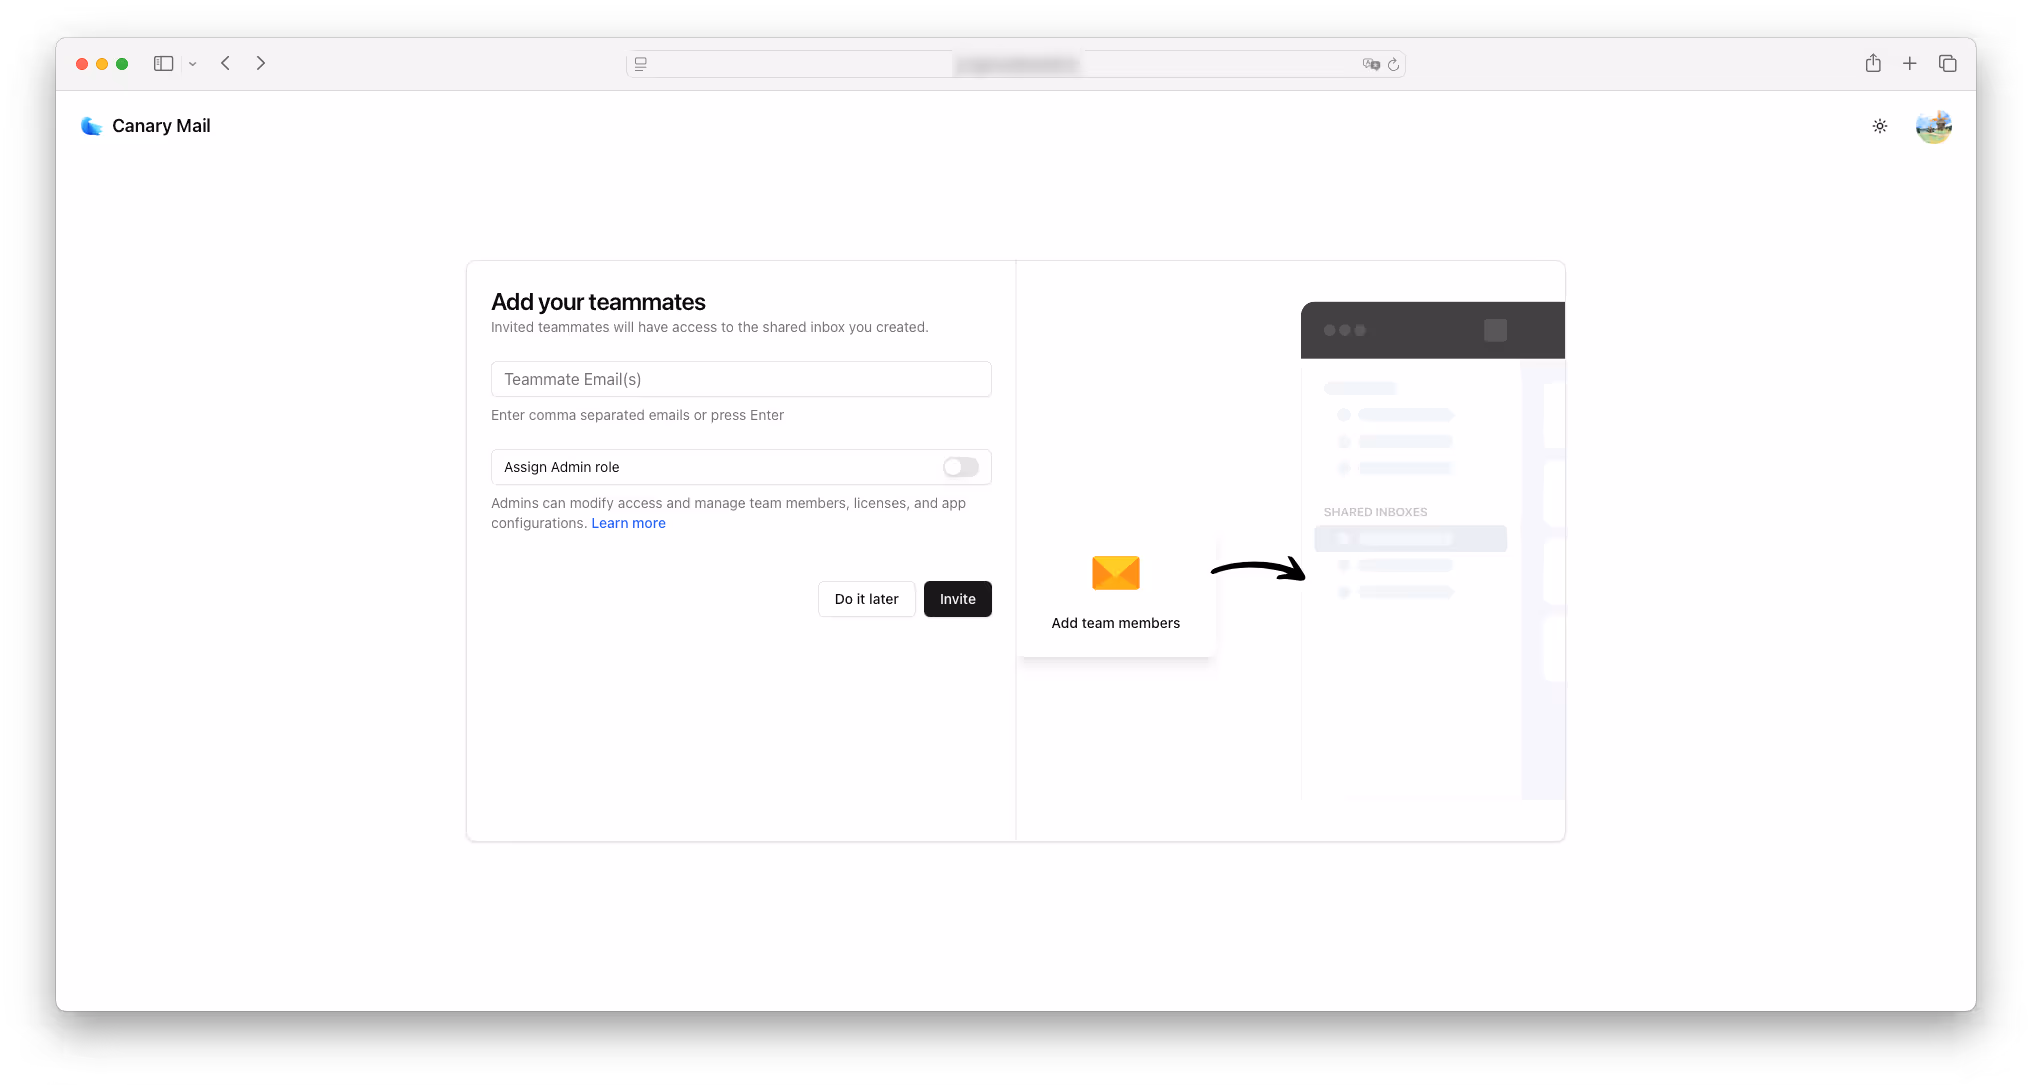
Step 6: Invite Your Team
- Add the email addresses of your teammates to send them an invitation.
- Alternatively, you can invite them later.
Step 7: User Invitation Email
- Invited users will receive a 'Getting Started' email with instructions on how to access the Shared Inbox.
Step 8: You’re All Set!
- Your shared inbox is ready for use.
- Manage team access and settings directly from the web app.
- If you also need to set up the macOS/iOS/Windows app, refer to this guide.
Managing Shared Inbox via Web App
1. Inbox Settings
- Change the Inbox Name, Color, and Access Permissions.
- Use Folders to map the Inbox Path and Sent Path.
- If syncing issues arise, use the refresh icon to Force Sync folders
2. AI Chatbot
- Refer to this guide for detailed steps.
- Train the chatbot by adding sources like URLs, sitemaps, files and text-based materials.
- Under Chat Sources, view details of what the bot has been trained on.
- Customize the chatbot on color, position, language and tailored messages.
- Install and add the chatbot on your website with a single line code.
3. Automations
- Set up automated responses for:
- New Tickets
- Pending Tickets (configure when and how reminders should be sent)
- Solved Tickets (send CSAT surveys for user feedback on support quality)
4. Assignments
- Set up assignment rules to automatically direct emails to the right team members.
- Specify a sender's email address or domain, and assign incoming emails from them to designated team members.
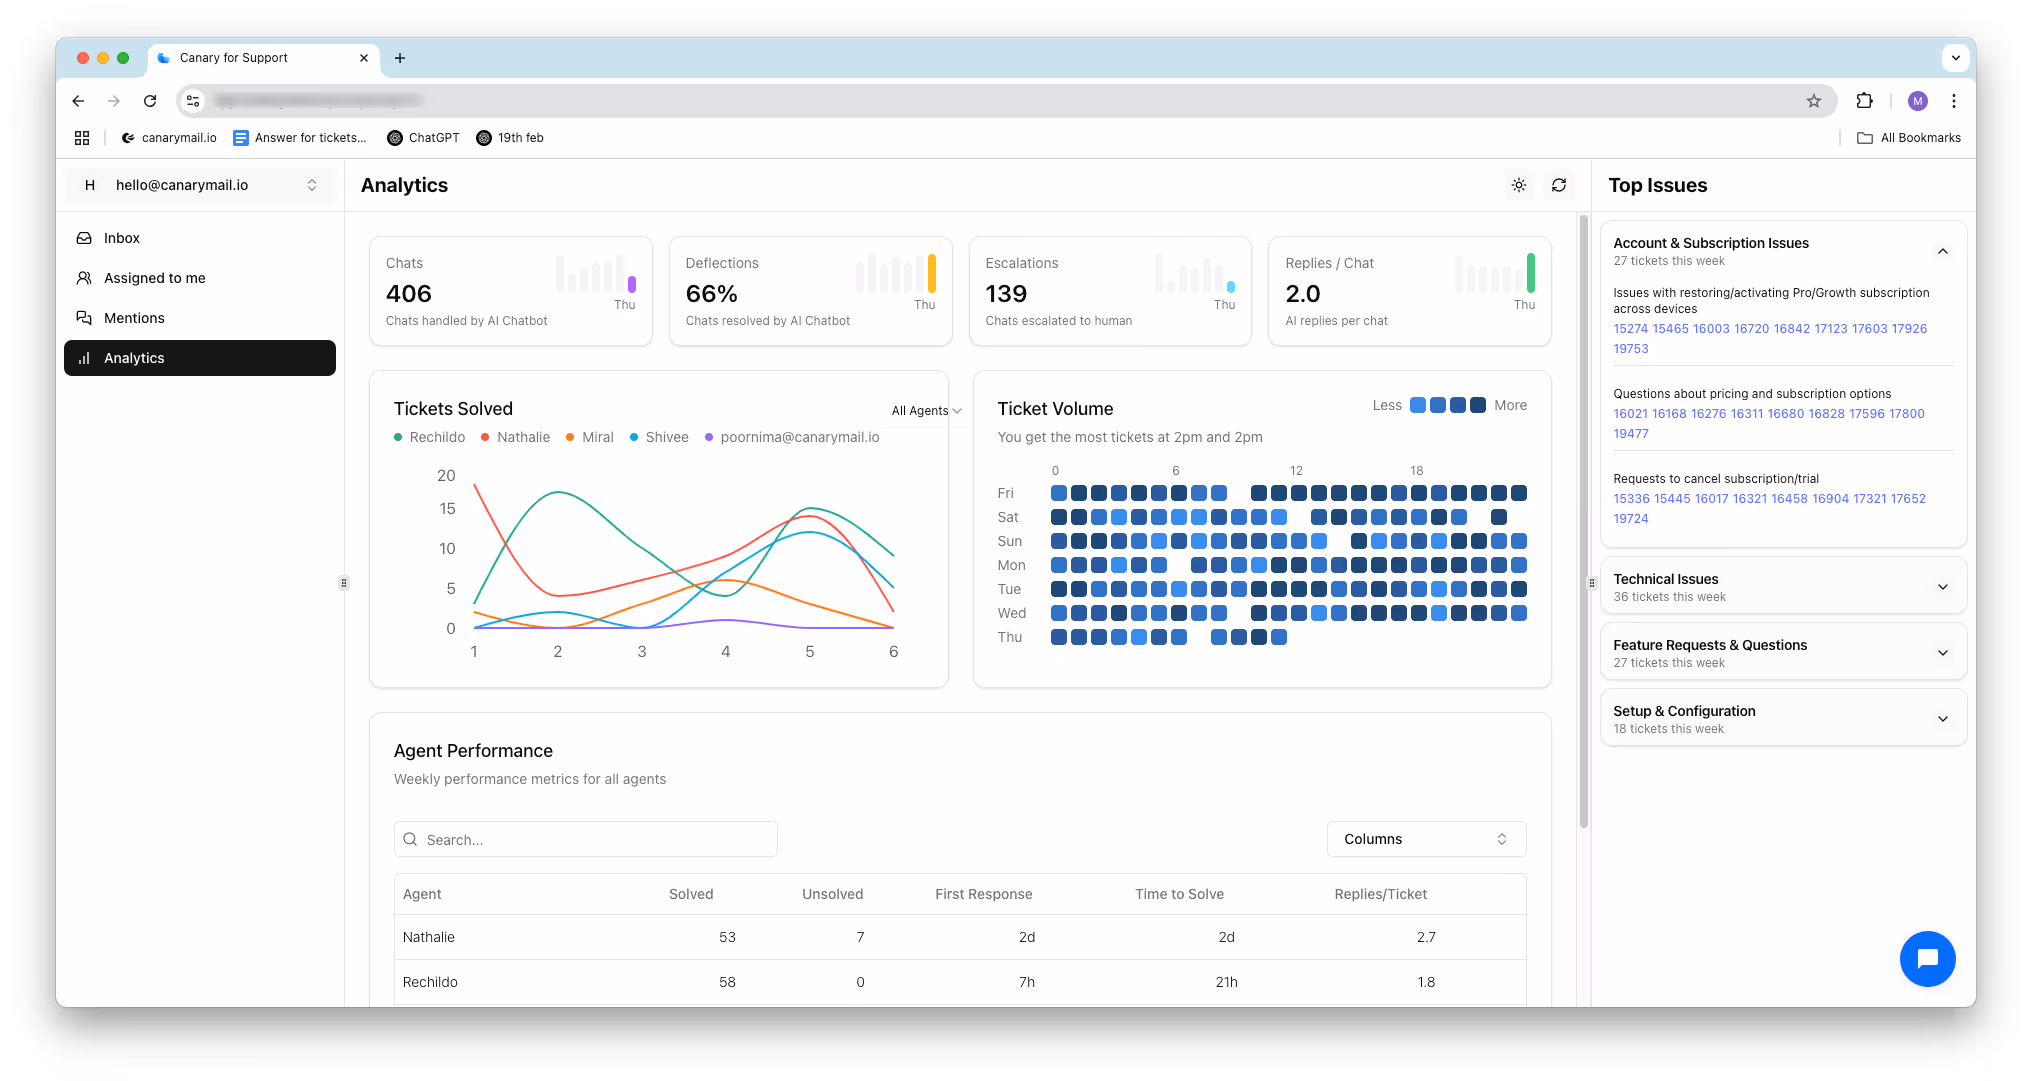
5. Analytics
- Track team performance.
- Monitor individual contributions.
- Analyze overall team efficiency.
Need Help?
If you face any issues, feel free to reach out to us at hey@canarymail.io for further assistance.