Shared Inbox by Canary’s AI Chatbot makes it easy for users to get instant support on your website. Follow these simple steps to train and embed the chatbot on your site.
Step 1: Train the Chatbot
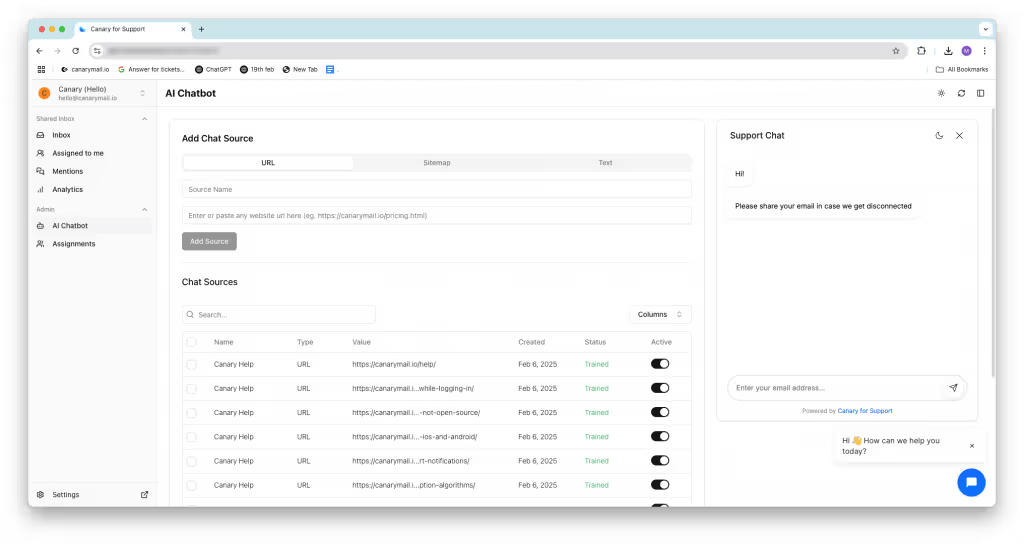
Before deploying the chatbot, you need to train it with relevant information.
- Add Training Sources – Provide URLs, sitemaps, files and text-based materials.
- Review Chat Sources – Under 'Chat Sources', you can see what the bot has learned and make adjustments if needed.
Step 2: Get the Chatbot Code
- Once training is complete, scroll to the bottom of the chatbot settings page.
- You’ll see an embed code - copy this code.
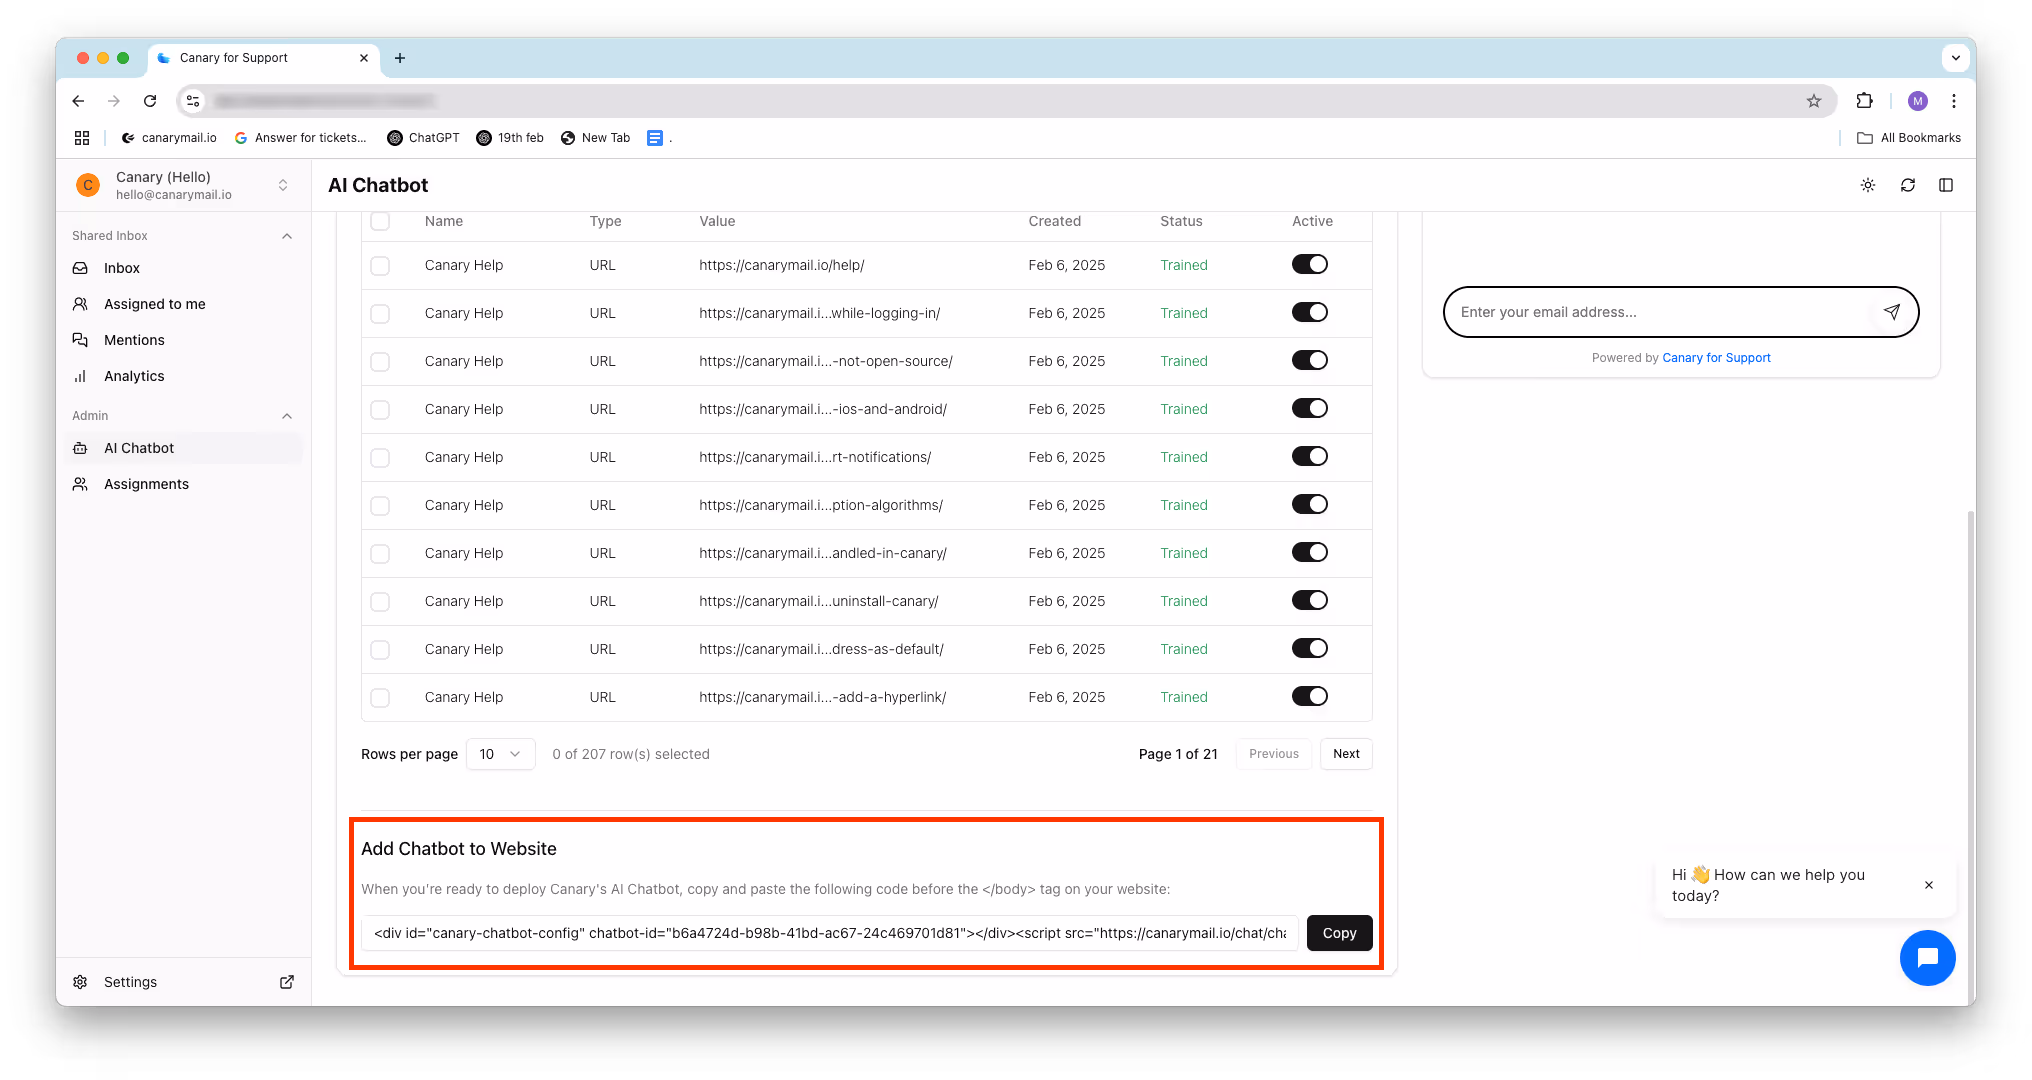
Step 3: Insert the Chatbot Code into Your Website
For HTML (or Custom-Built) Websites
If your website is a standard HTML-based site or custom-built using HTML, PHP, or another framework, follow these steps:
- Open the HTML file of the page where you want the chatbot to appear.
- Paste the chatbot embed code right before the
</body>tag in your HTML file. - Save and upload the updated file to your web server.
Your chatbot should now be live on your website!
If You're Using a WordPress Site
WordPress does not provide a built-in way to edit the footer directly, so you may need a plugin. Below are two recommended plugins that allow you to insert scripts into your site's footer:
- Insert Headers & Footers + Custom Code Snippets by WPCode
- Insert Headers & Footers by WPBrigade
Using the Plugin to Add the Code
- Install and activate one of the recommended plugins from your WordPress dashboard.
- Paste the chatbot embed code in the Footer Scripts section.
- Click Save Changes.
Once done, your chatbot should appear on your website, ready to assist users!
Need Help?
If you face any issues, feel free to reach out to us at hey@canarymail.io, and our team will promptly assist.