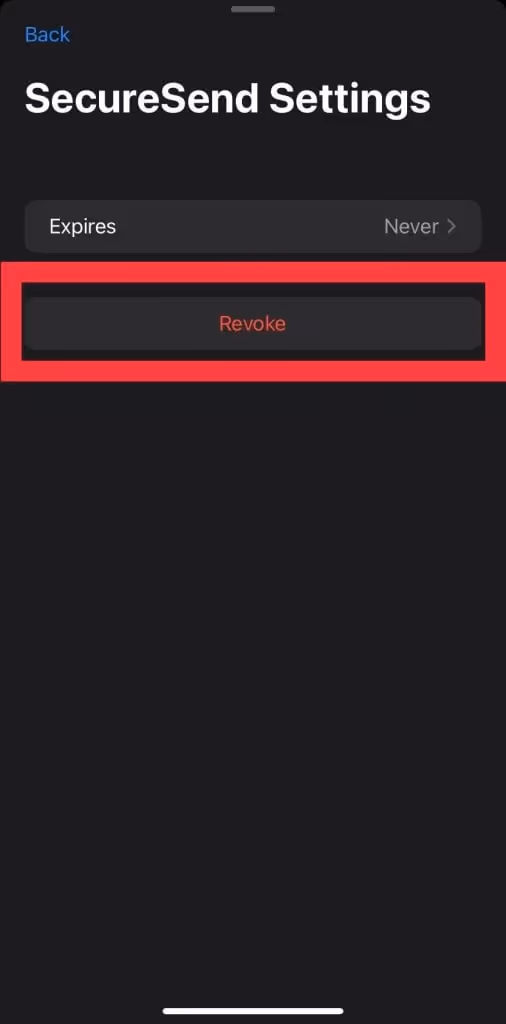
Revoke
SecureSend allows you to revoke access to a sent email at any time after it is sent. This prevents sensitive content or files from remaining indefinitely in your recipient's Inbox. When the recipient tries to view a revoked email, he or she will see an alert saying that the email is no longer accessible.
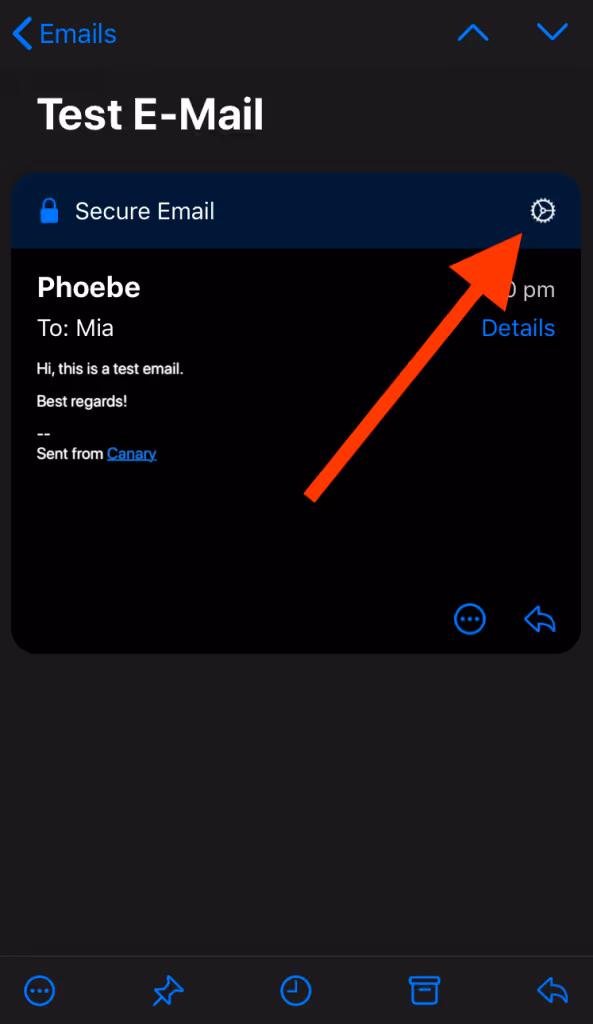
To revoke a sent message in Canary, open the email you want to revoke, then click on the Settings icon of that particular email & select Revoke.
If the receiver attempts to view it now, it will notify them that the email has been revoked.
If you change your mind, you can simply Re-authorize the message.
To Re-authorize a sent message in Canary, open the email you want to Re-authorize, then click on the Settings icon of that particular email & select Re-authorize.
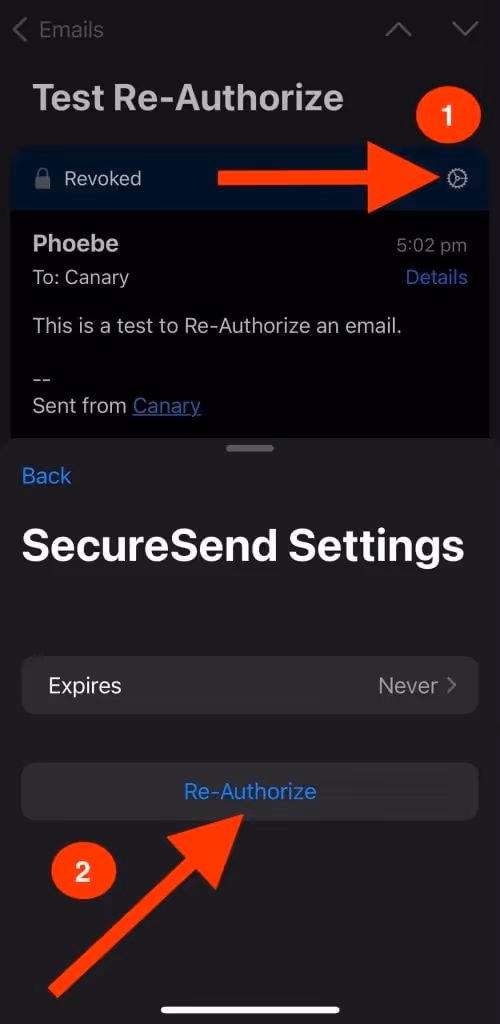
Now the receiver will automatically be able to read the email.
Set Expiry
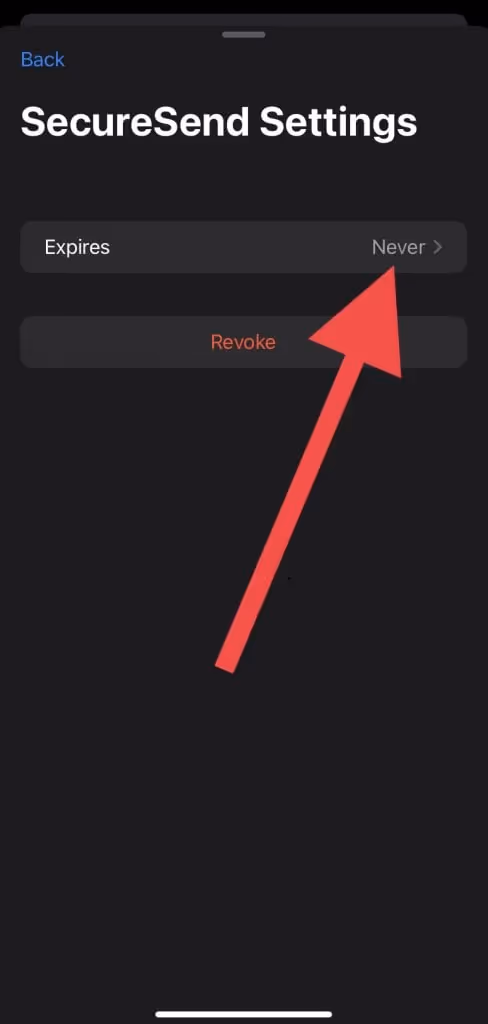
SecureSend also allows you to set expiration dates to secure emails. When you add an expiration date to an email, the recipient will be unable to access its contents after the set date. You can set an expiration date either when composing an email, or at any time after it is sent.
To set an expiration date in Canary, open the email in which you want to set the expiry > Click on the Settings icon of that particular email > tap on Expires and set the time as per your requirement.

See also:
https://canarymail.io/blog/securesend-easy-to-use-email-encryption/