macOS
With Canary Mail's Todoist integration, turning emails into actionable tasks in your Todoist workflow is a breeze. Here's how to do it:
Connect Canary Mail to Todoist -
Step 1: Go to Canary Mail's Preferences (via Canary > Click on 'Canary Mail' in the Menubar > Preferences / Settings).
Step 2: Click on Integrations.

Step 3: Find Todoist and click "Connect."
Step 4: Log in to your Todoist account.
Share an Email to Todoist
Step 1: Open the email you want to turn into a task.
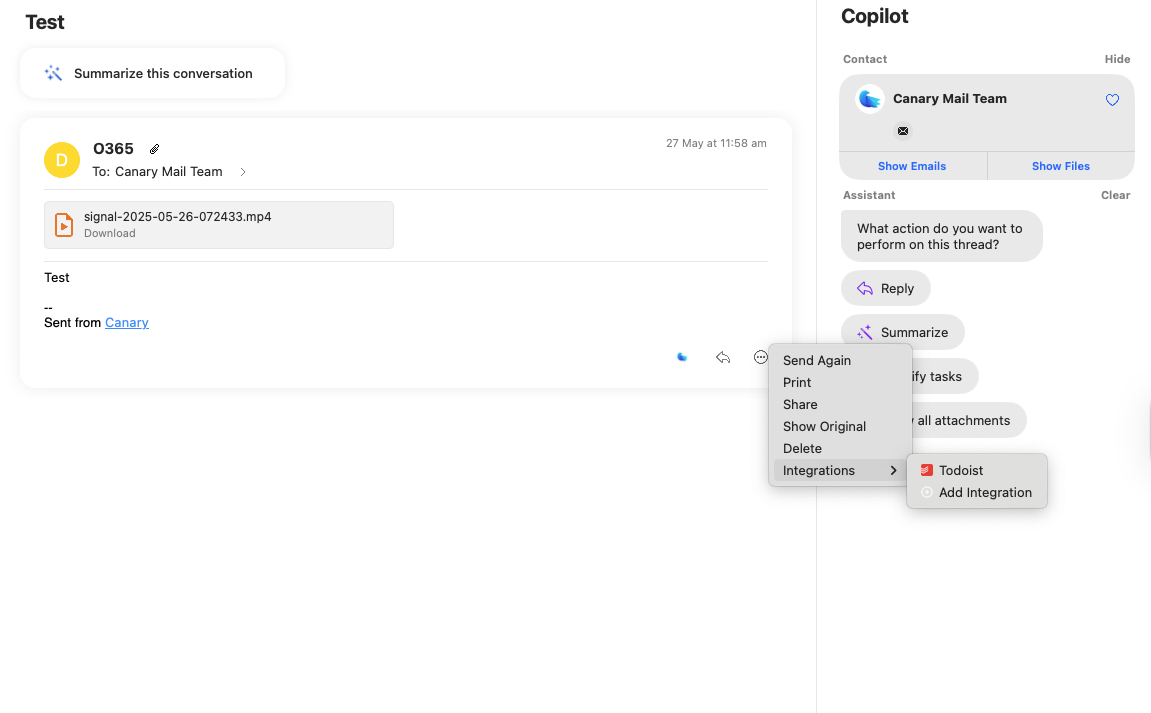
Step 2: Click on the three-dot icon in the toolbar (More).
Step 3: Choose "Integrations" and then "Todoist."
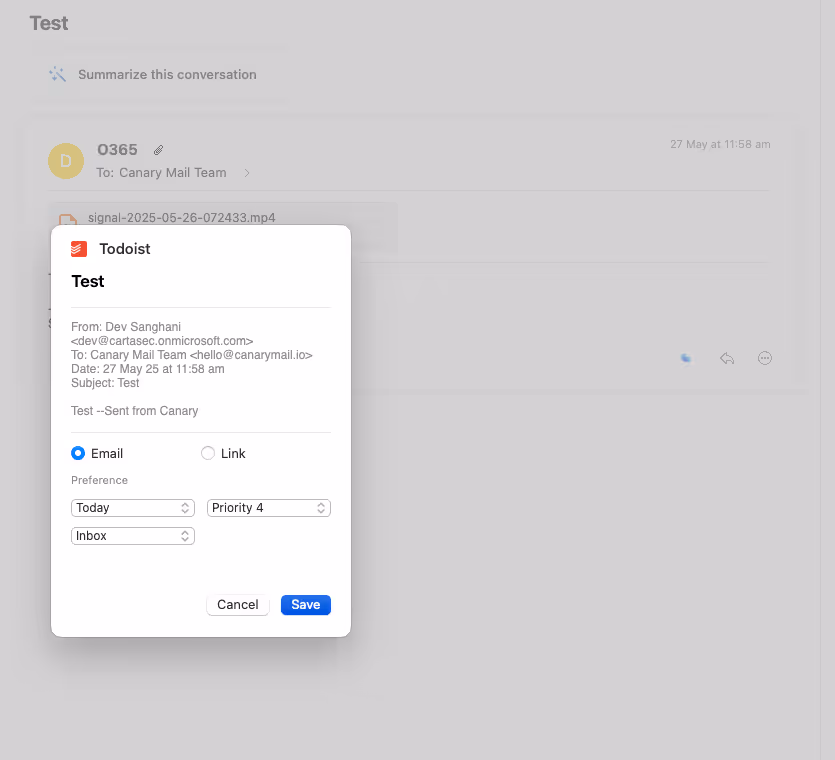
Step 4: Select the project you want in Todoist and set your deadline.
Step 5: Hit "Save" to add the email as a new task in Todoist.
iOS
Here's how you can use Canary Mail integration with Todoist on iOS:
Connect Canary Mail to Todoist -
Step 1: Go to Canary Mail > Settings > Integrations

Step 2: Select Todoist

Step 3: Connect and log into your Todoist account.

Share an Email to Todoist
Step 1: Open the email you want to turn into a task.
Step 2: Tap on the three-dot icon at the bottom of the email (More).

Step 3: Choose "Integration" and then "Todoist".


Step 4: Select the project you want in Todoist and set your deadline.

Step 5: Tap "Save" to add the email as a new task in Todoist.
That's all! Your email is now a task in Todoist, making it easy to manage your work across email and tasks.
If you encounter any issues integrating Todoist, please feel free to contact us at hello@canarymail.io. We’re here to help!