Manually add an email address or domain to block list:
Please note that all blocked senders will appear under "Rules" in Settings.
Step 1: In your Canary Mail app, Go to Settings > Rules.
Step 4: Click the add button (+) at the top right corner of the screen to add an email address (and other optional conditions). To remove an email address or domain, tap the “>” next to it in the list, then tap ‘Delete’.

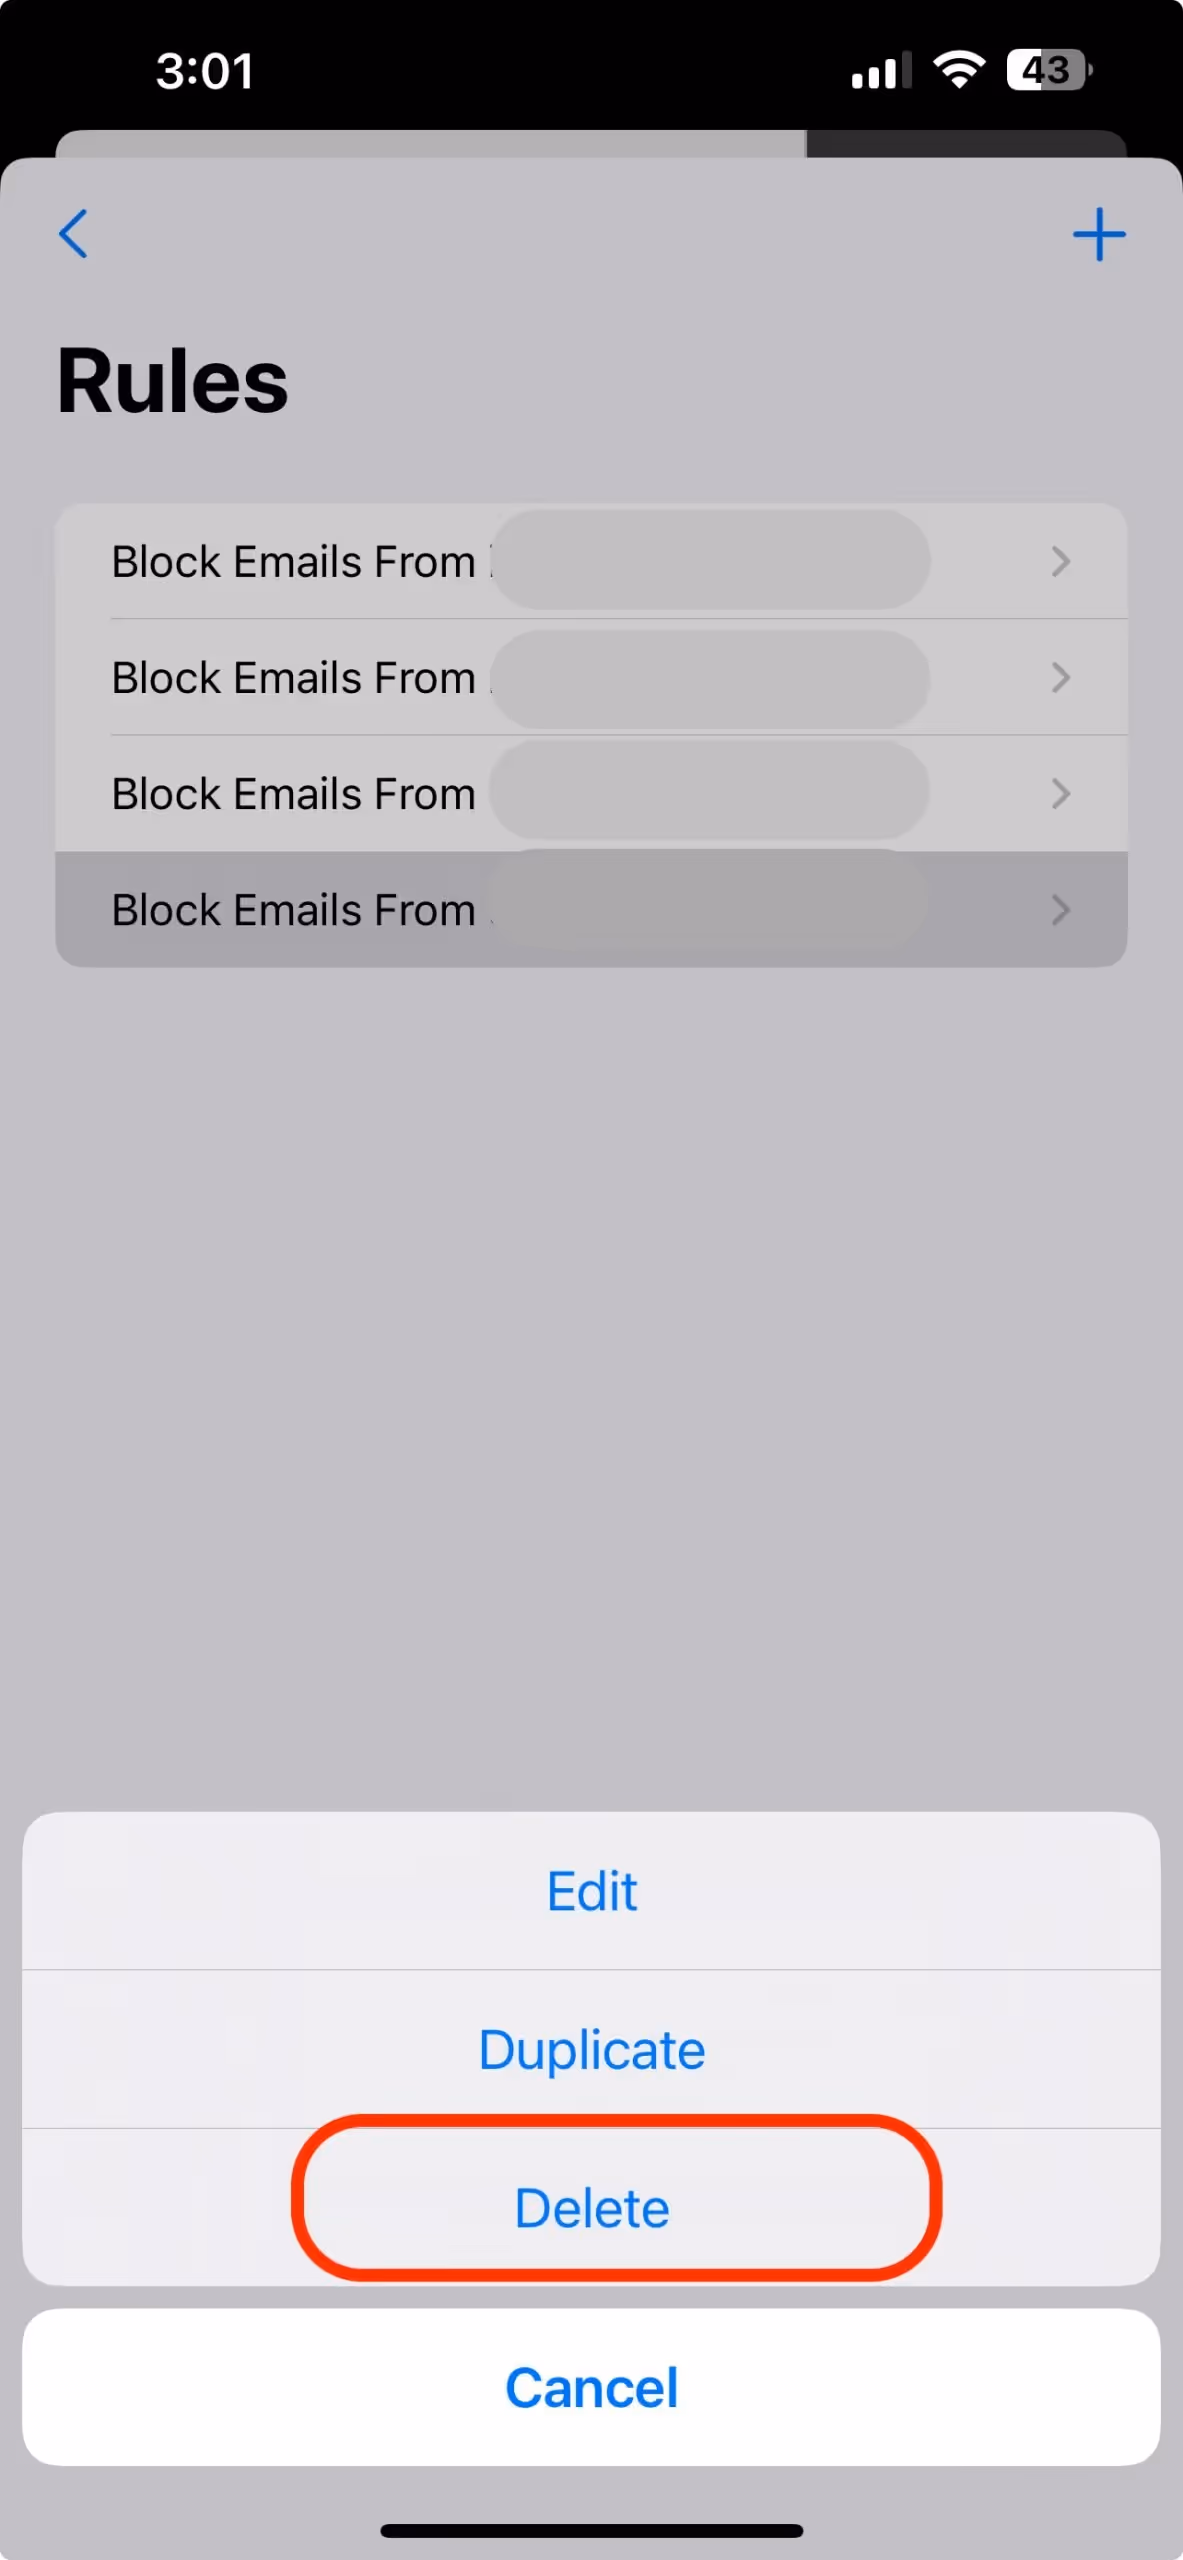
Just a heads-up that rules aren’t retroactive, so they won’t apply to emails already in your inbox—only to new incoming emails.
Block a Sender’s Address or Domain From Your Inbox:
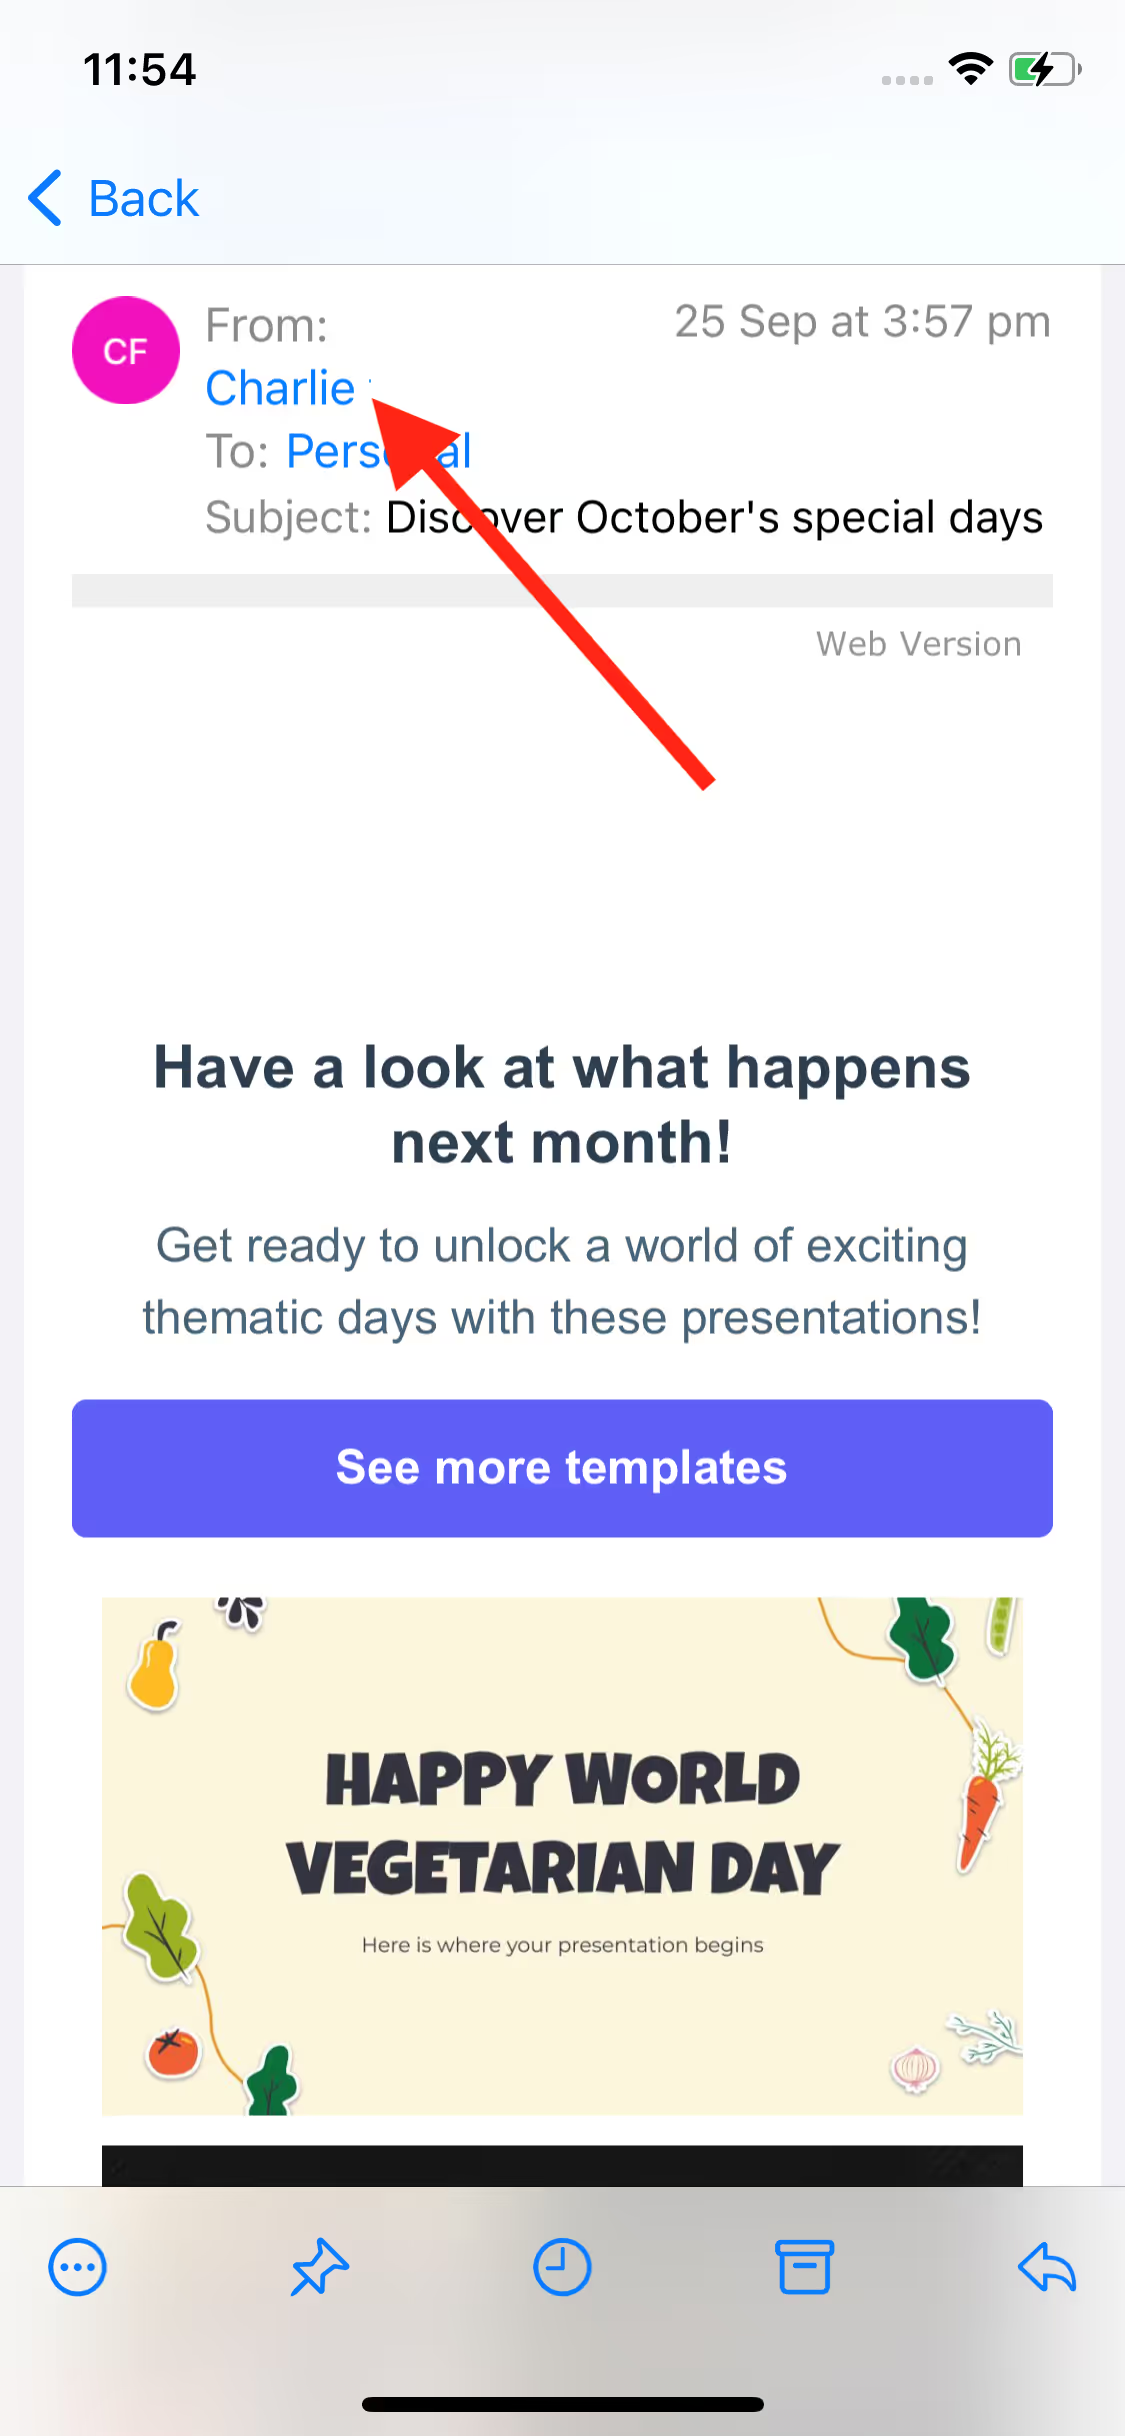
Step 1: Open the email from the sender you want to block.
Step 2: Locate the sender’s name at the top of the email. Tap on the email header to reveal the Sender’s information. Now, tap on the Sender’s name
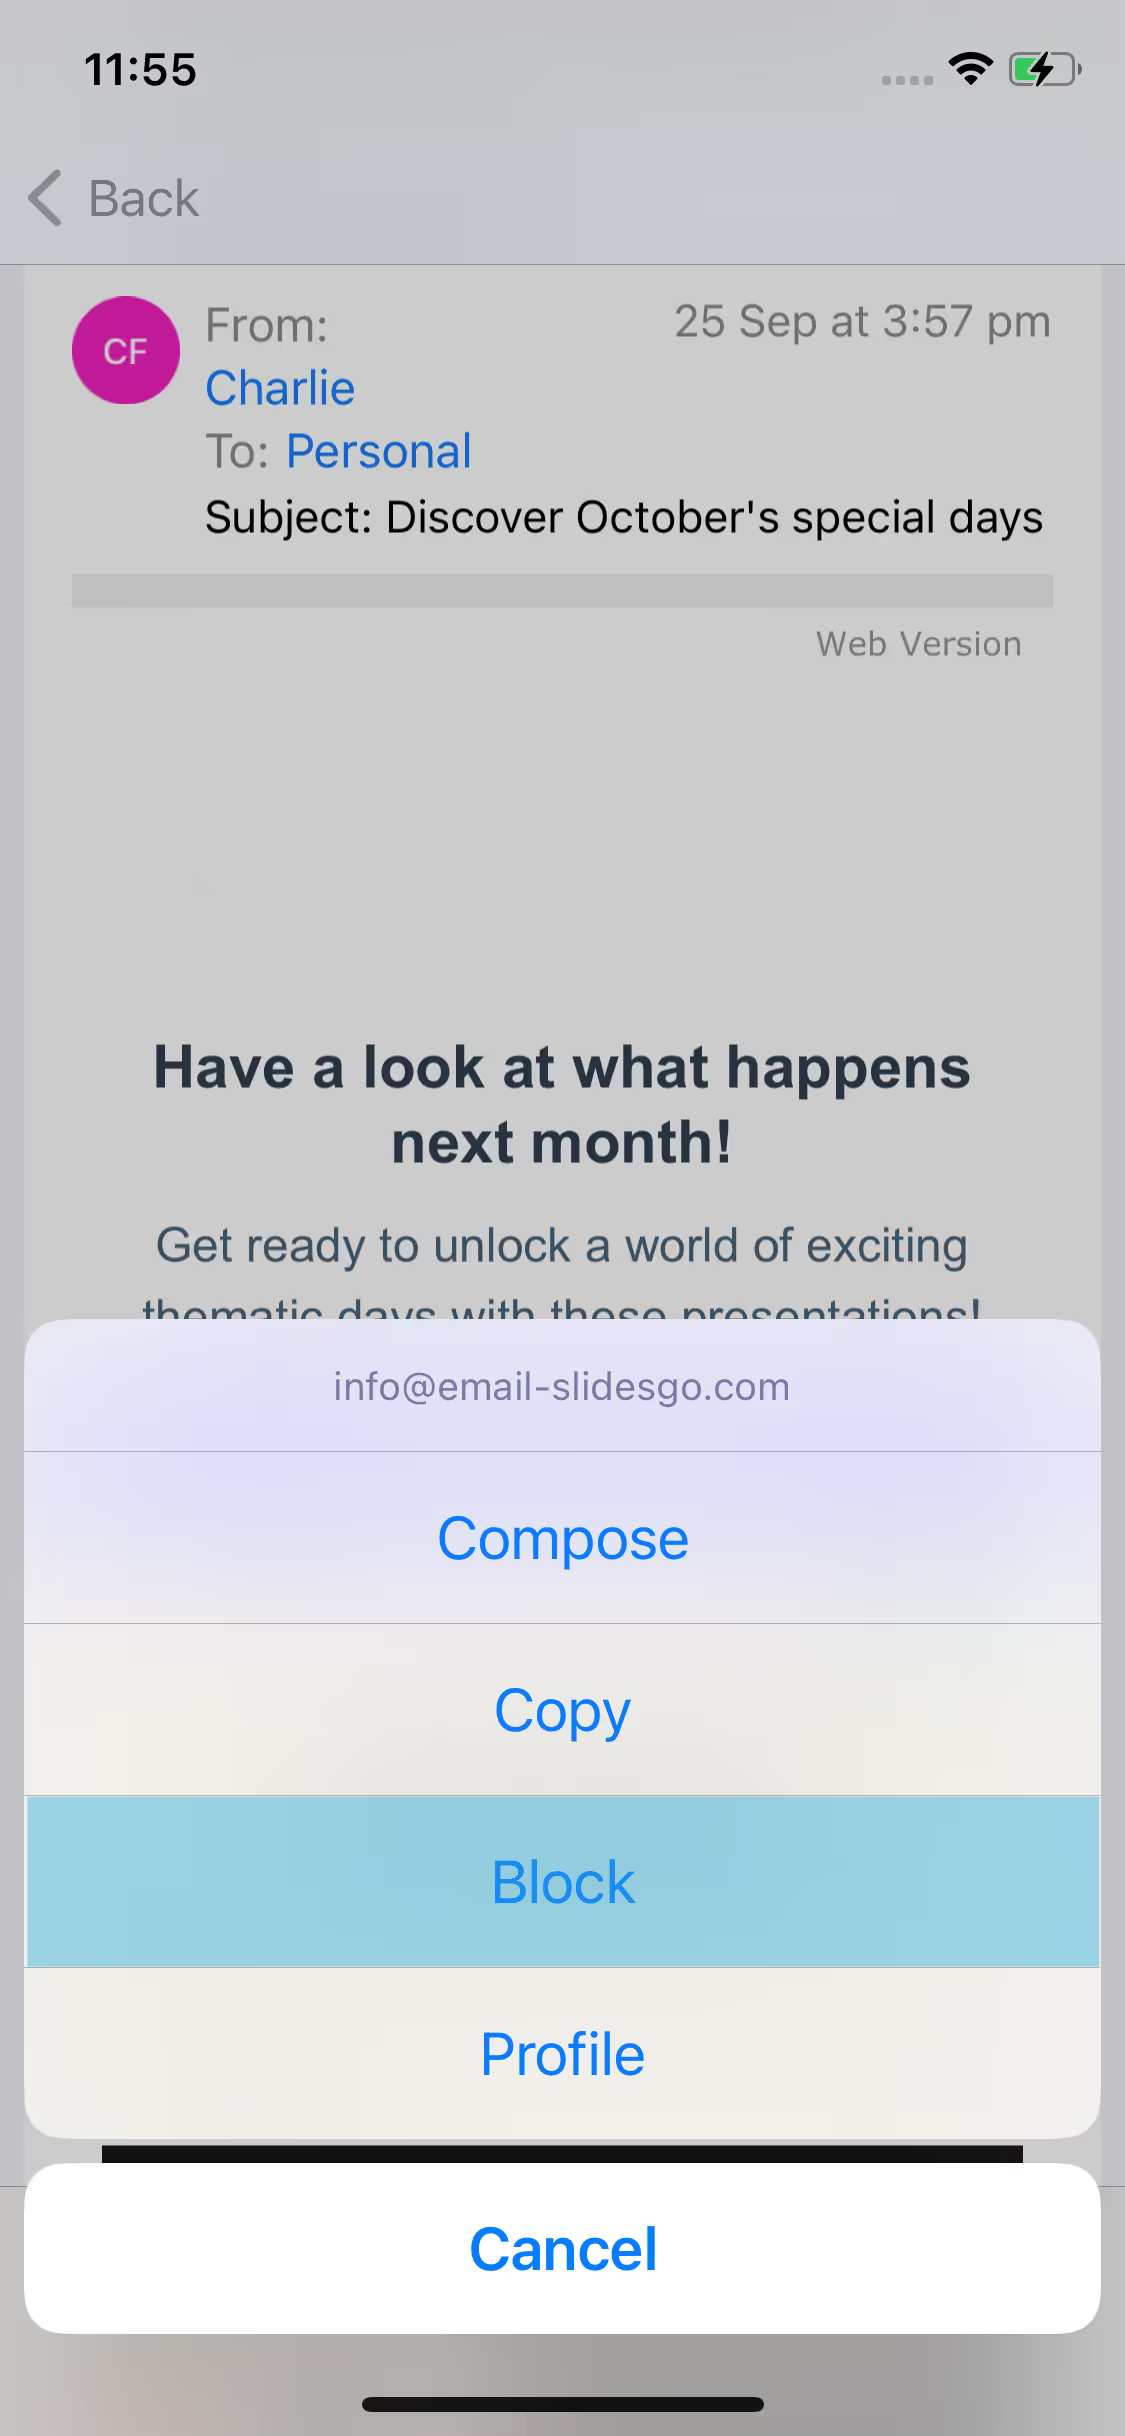
Step 3: From the menu, tap on "Block."
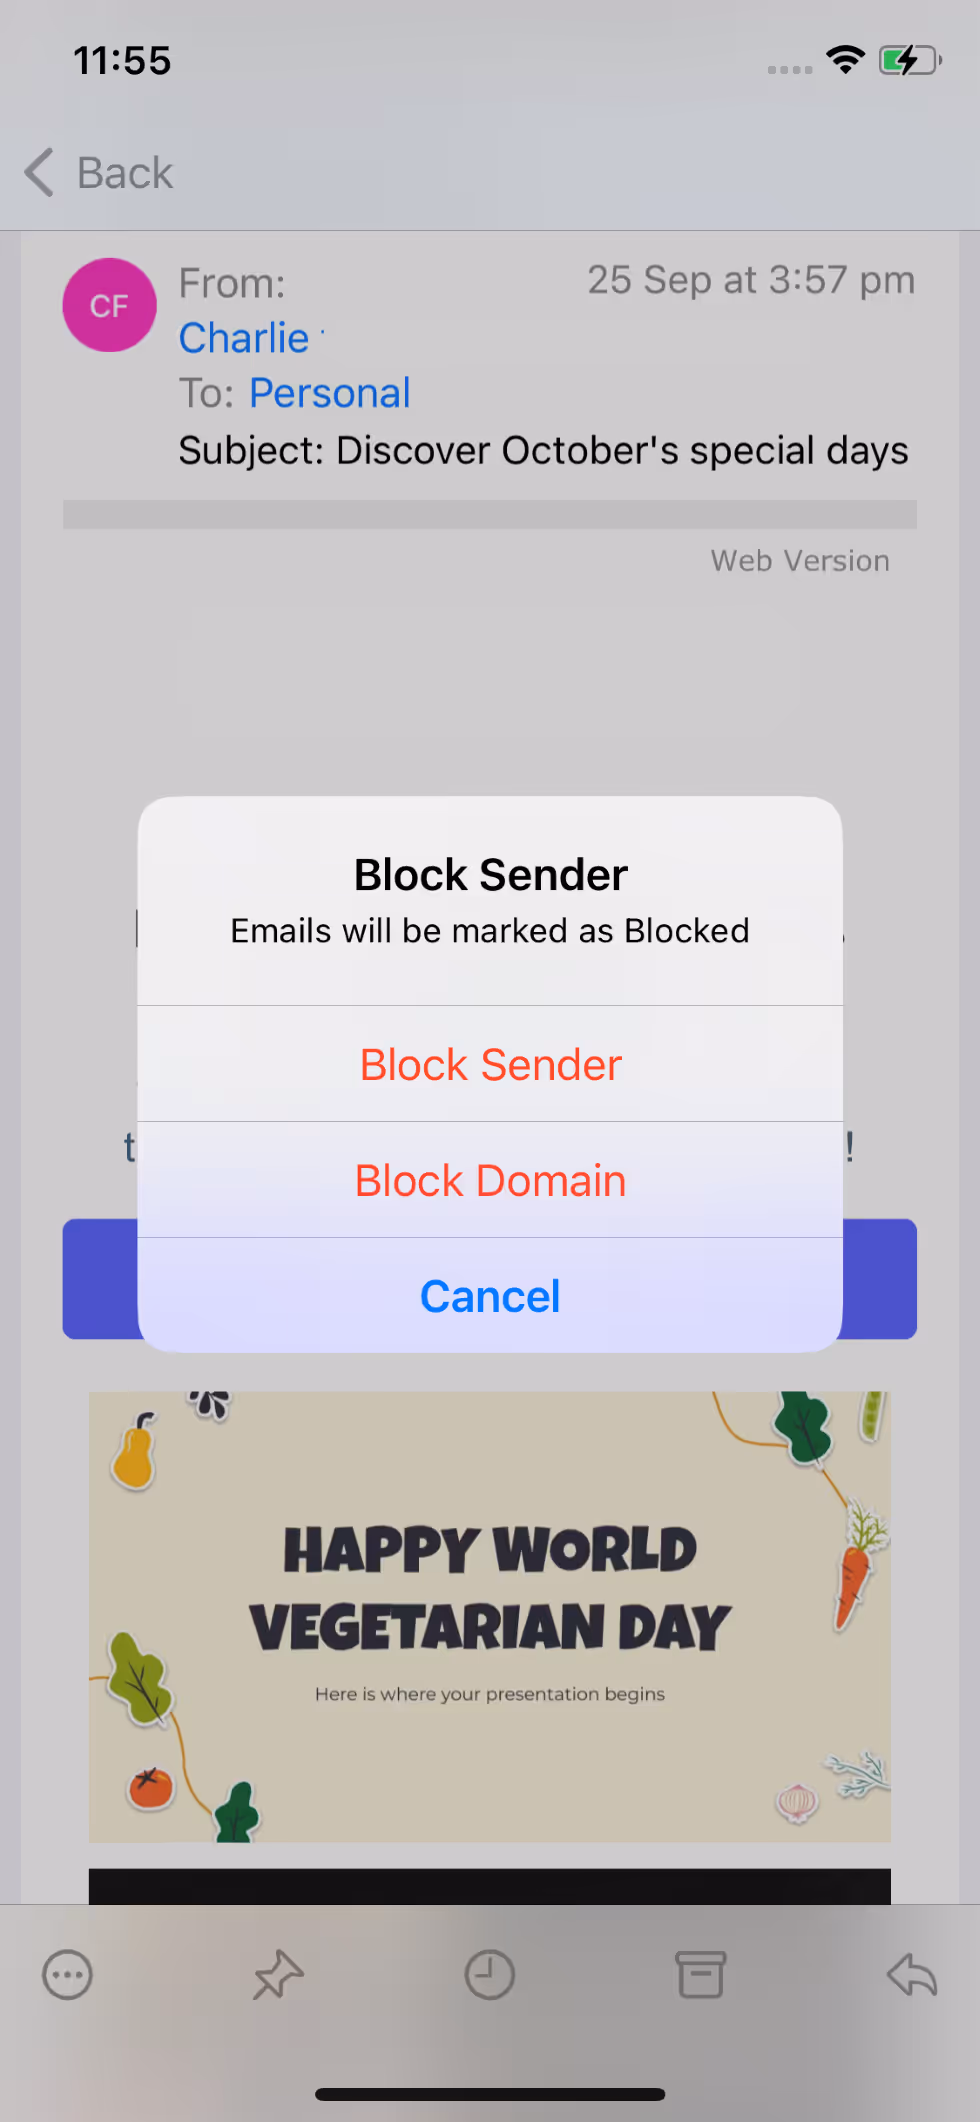
Step 4: The Block Sender window will open. Here, Canary Mail provides two options:
i) Block Sender: This option blocks the email address of the sender. Thus, all the emails from the email address will be marked as blocked.
ii) Block domain: This Option blocks all email addresses from the sender domain. Emails from addresses with this domain will thus be marked as blocked.
Step 5: Henceforth, all incoming emails from the selected sender or domain will be blocked.