Follow the steps below to add your Gmail account to Canary for Android Devices:
1. Open the Canary Mail application on your Android device.
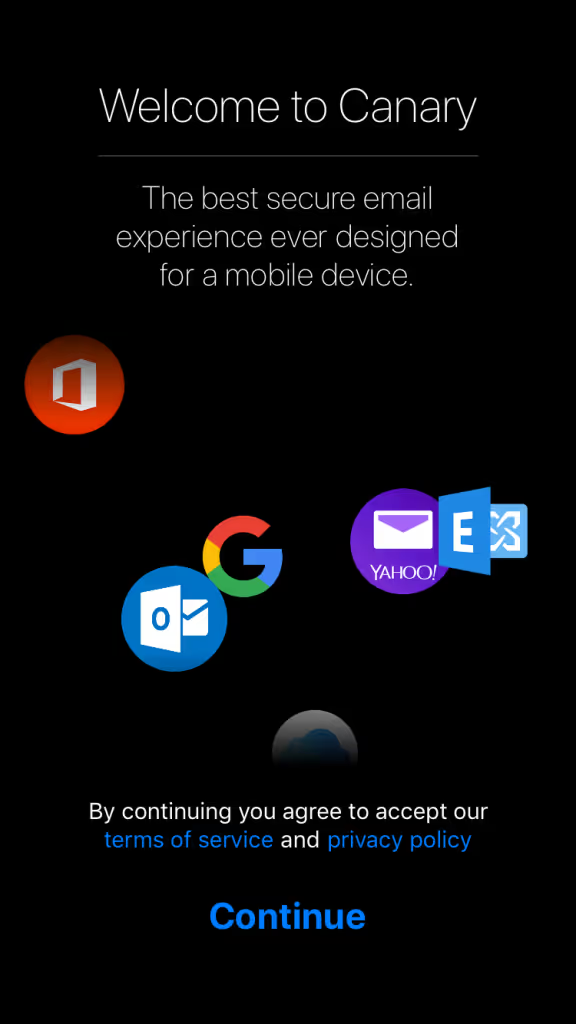
2. Review the Privacy Policy and click on "Continue" to proceed.
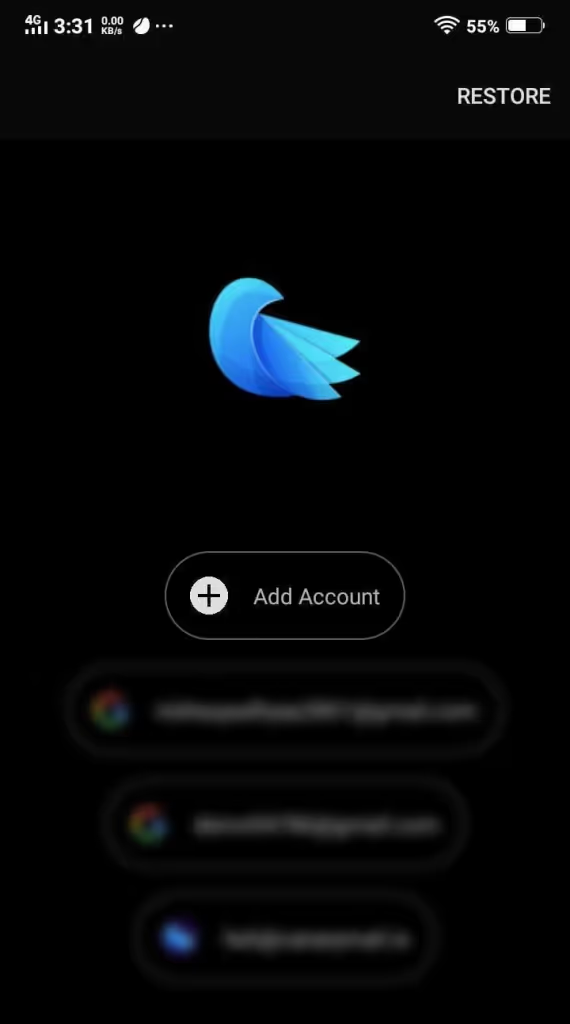
3. Tap the "Add Account" button located at the bottom of the screen.
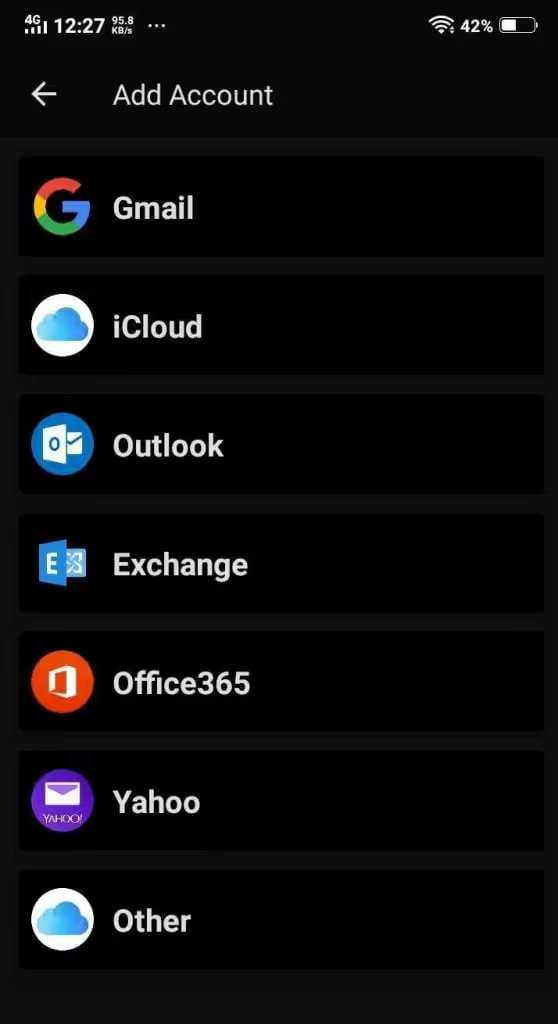
4. Select 'Gmail' from the list and you will be redirected to Google's Add Account page.
5. Enter the email address for the Gmail account that you wish to add.
6. Enter Password for the Account
7. Click Next.
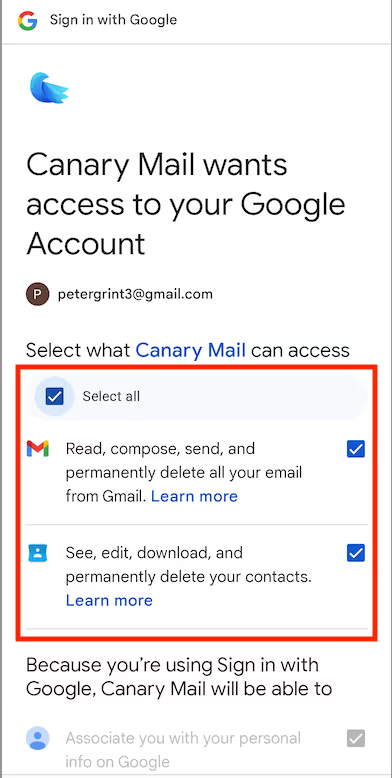
8. When prompted for permissions, make sure to enable full access by selecting both options:
- "Read, compose, send, and permanently delete all your email from Gmail"
- "See, edit, download, and permanently delete your contacts"
Important: If you don't select these permissions, you may not be able to view or send messages in Canary.
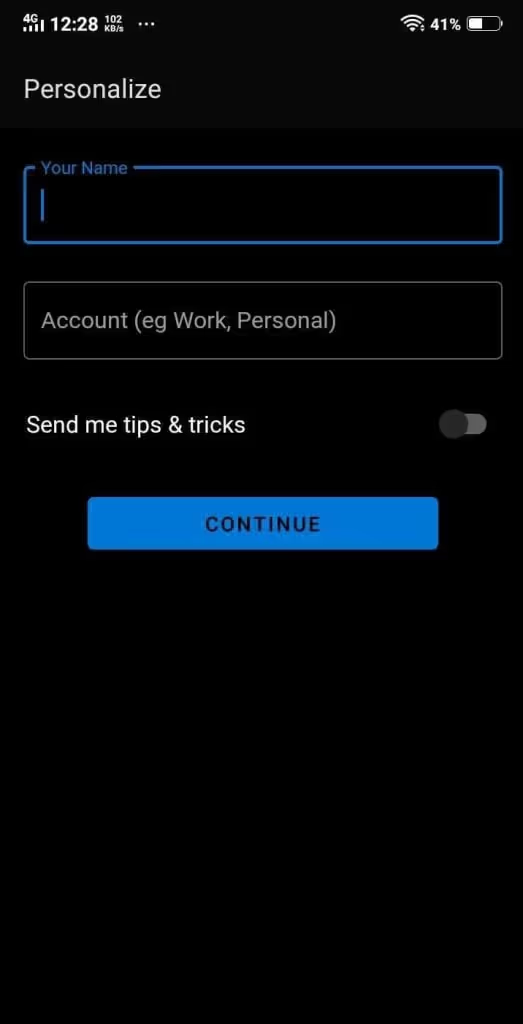
After you have entered your Gmail account information and have been redirected back to Canary Mail on Android, follow these steps to complete the account setup:
1. Enter an Account Name for your Gmail account in the field provided. This will allow you to easily identify the account within the Canary Mail app.
2. Enter your name in the "Name" field as you want it to appear to your email recipients. Make sure to enter your name carefully as this is how recipients will see it.
3. Click "Continue" to complete the account setup process.
